Yesterday something historic happened.
I’ve always been brand loyal. Once I find something I like it takes a lot to drag me away from it.
I’ve long been a Nikon shooter and always printed on Epson.
Until yesterday. My printer needed its ink pads replacing apparently. A procedure that involves the printer being taken to bits by trained lemurs and the pads replacing with platinum coated in the silk of the rarest Himalayan Tarantula. So I looked around and on the advice of the good people at PermaJet plumped for a Canon PRO-1000.
Delivery was agreed and I eagerly awaited arrival.
Now I live on quite a narrow street but Transit Vans usually have no problem. The rumble of a heavy engine suggested something larger around lunchtime and I saw a large lorry more suited to White Kitchen Goods. The back went up and there, clingfilmed to it’s own pallet, was a huge box. This printer is a serious piece of kit.
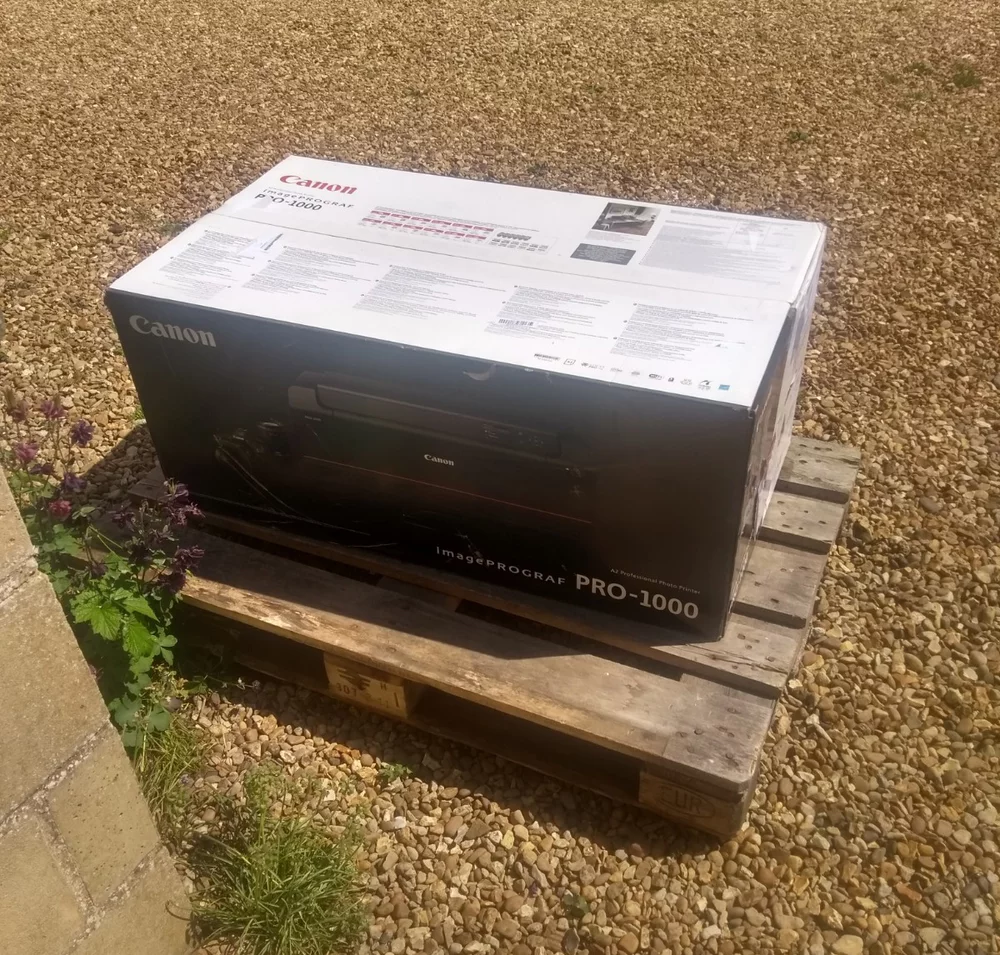
The driver and I manhandled the pallet off the truck and to my front door. There he put it down and scuttled off. Be warned. If you are on your own and not good for lifting and carrying you need to be specific on how you get this kit delivered. Had I been unable to assist, the printer would still be on the lorry.
Indeed one of the first things you find on opening the box are multiple sets of instructions in various languages of Europe, the first one stating ‘only to be lifted by two persons’.
Fortunately the unit comes in a strong bag with long loop handles at either end so it was a relatively simple job to carry it into the house.
Then comes the fun part of unpacking all the little bits. The ink is supplied in nice chunky cartridges, 12 of them in all. Great looking design and easy to slot in. Firstly though you need to track down all the red tabs used to secure moving parts of the printer in transit. There are also a few large plastic parts to remove, again all colour coded to prevent confusion.
Once they were all removed, and the procedure gives you a good introduction to the layout of all the compartments and flaps on the machine, it’s time to put it in place. Bend knees, straight back and dead lift onto the table, allow the world to go a little wobbly for a couple of minutes and then plug in. This was when I realised that the only thing not included in the box was a USB cable. Call me picky but this always annoys me. I had one that fitted but that came supplied with an external hard drive and now needs to be shared between the two. It would have been a real pain had I not had one.
Once powered up though the clear, bright and colourful screen lights up and guides you through the installation process. The ink cartridges and print head all slot easily into place and the printer does the rest. Whilst it was doing it’s thing I downloaded installation software to the PC and got ready to introduce the two. That too was a remarkably simple process. Then came the only moment of confusion. It wanted to do a print on a specific Canon Paper that wasn’t the same as the sample pack supplied, but a quick Google showed one that was similar in my PermaJet collection. My only quibble here is if you’re specifying a particular paper to optimise the test, pop a sheet in the box… Next to the USB cable.
That was it. All set up and ready to roll. I downloaded the generic paper profiles from the PermaJet site and installed them into Photoshop. Checked on the recommended settings for colour rendering and blackpoints and I was ready to roll.
I chose an A4 monochrome image of model Ana and chose FB Distinction, one of my favourite papers of the PermaJet range for monochrome images, to print to. Image opened, sharpened, settings checked and hit print. That was when something struck me that was so different, and such an improvement from the old Epson. You didn’t have to specify whether printing matte or gloss and then swap inks accordingly. I always thought this an uneconomical process, laborious and if you didn’t watch out you could end up trapping yourself in one style by not having enough ink in one reservoir to swap over. With the Canon you just tell the unit the print style and it does the rest. Wonderful.
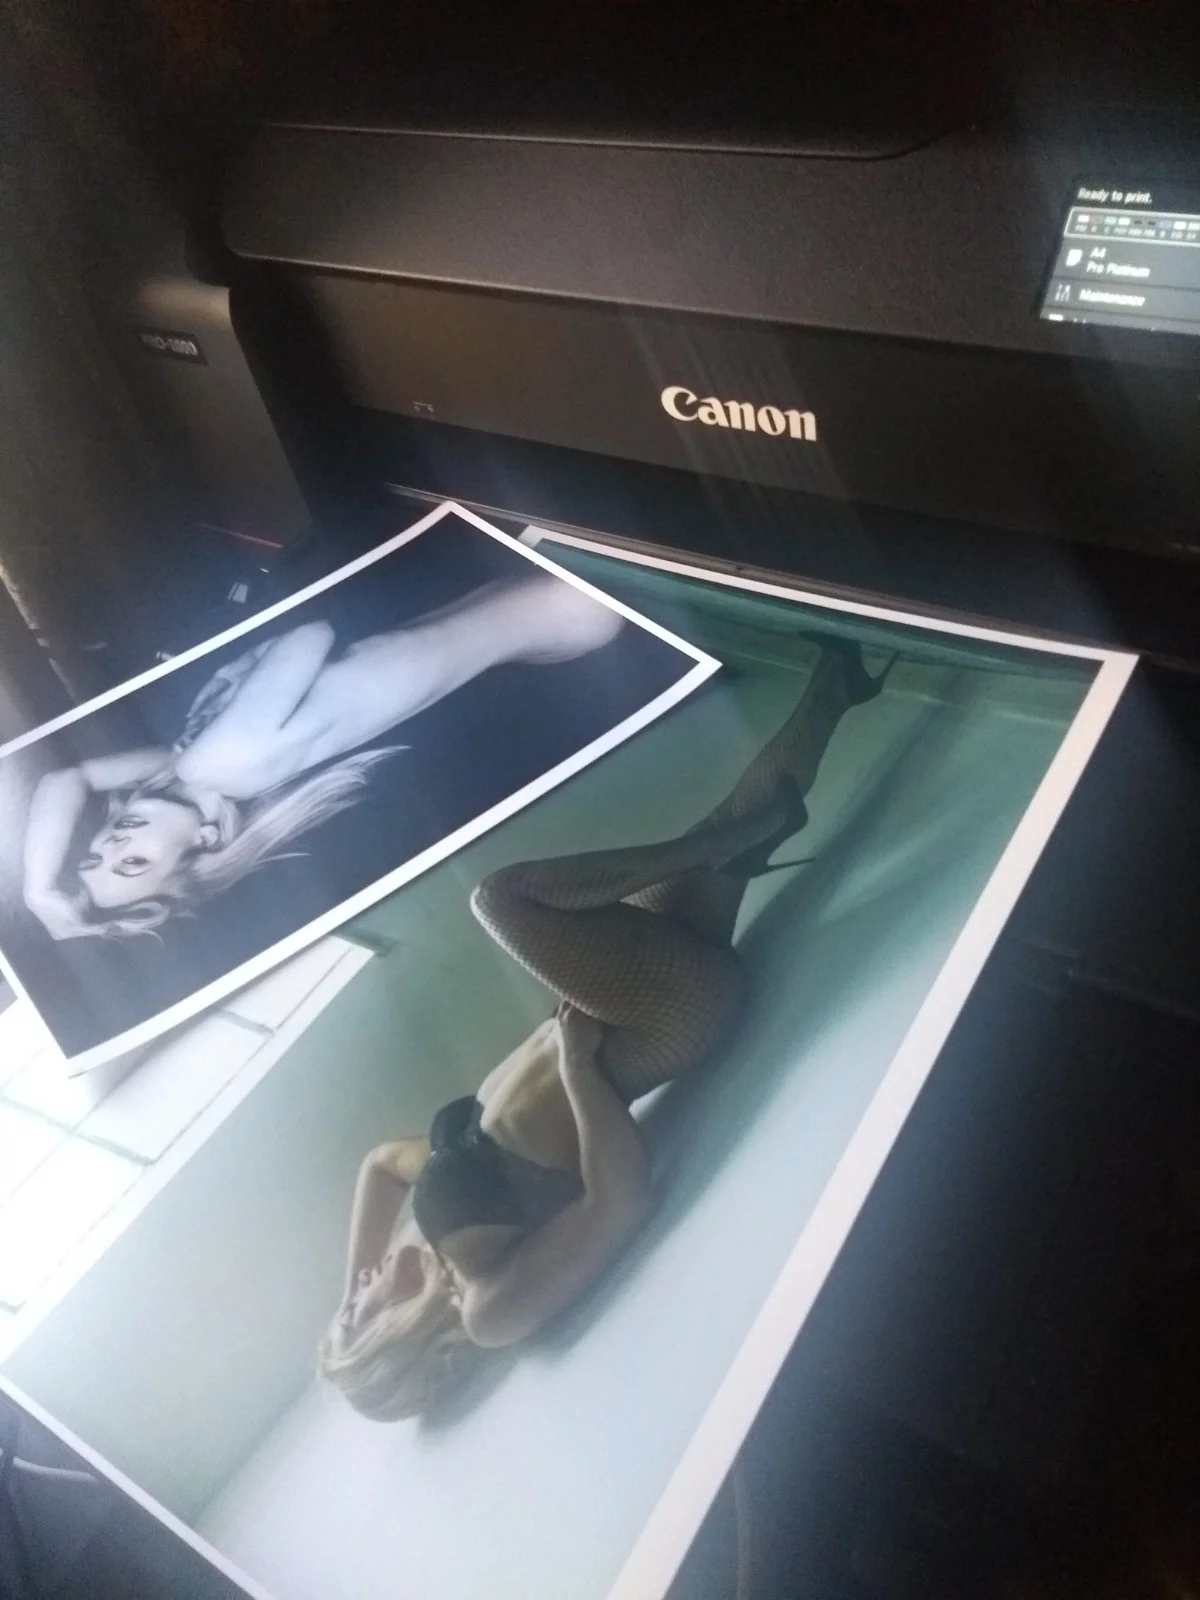
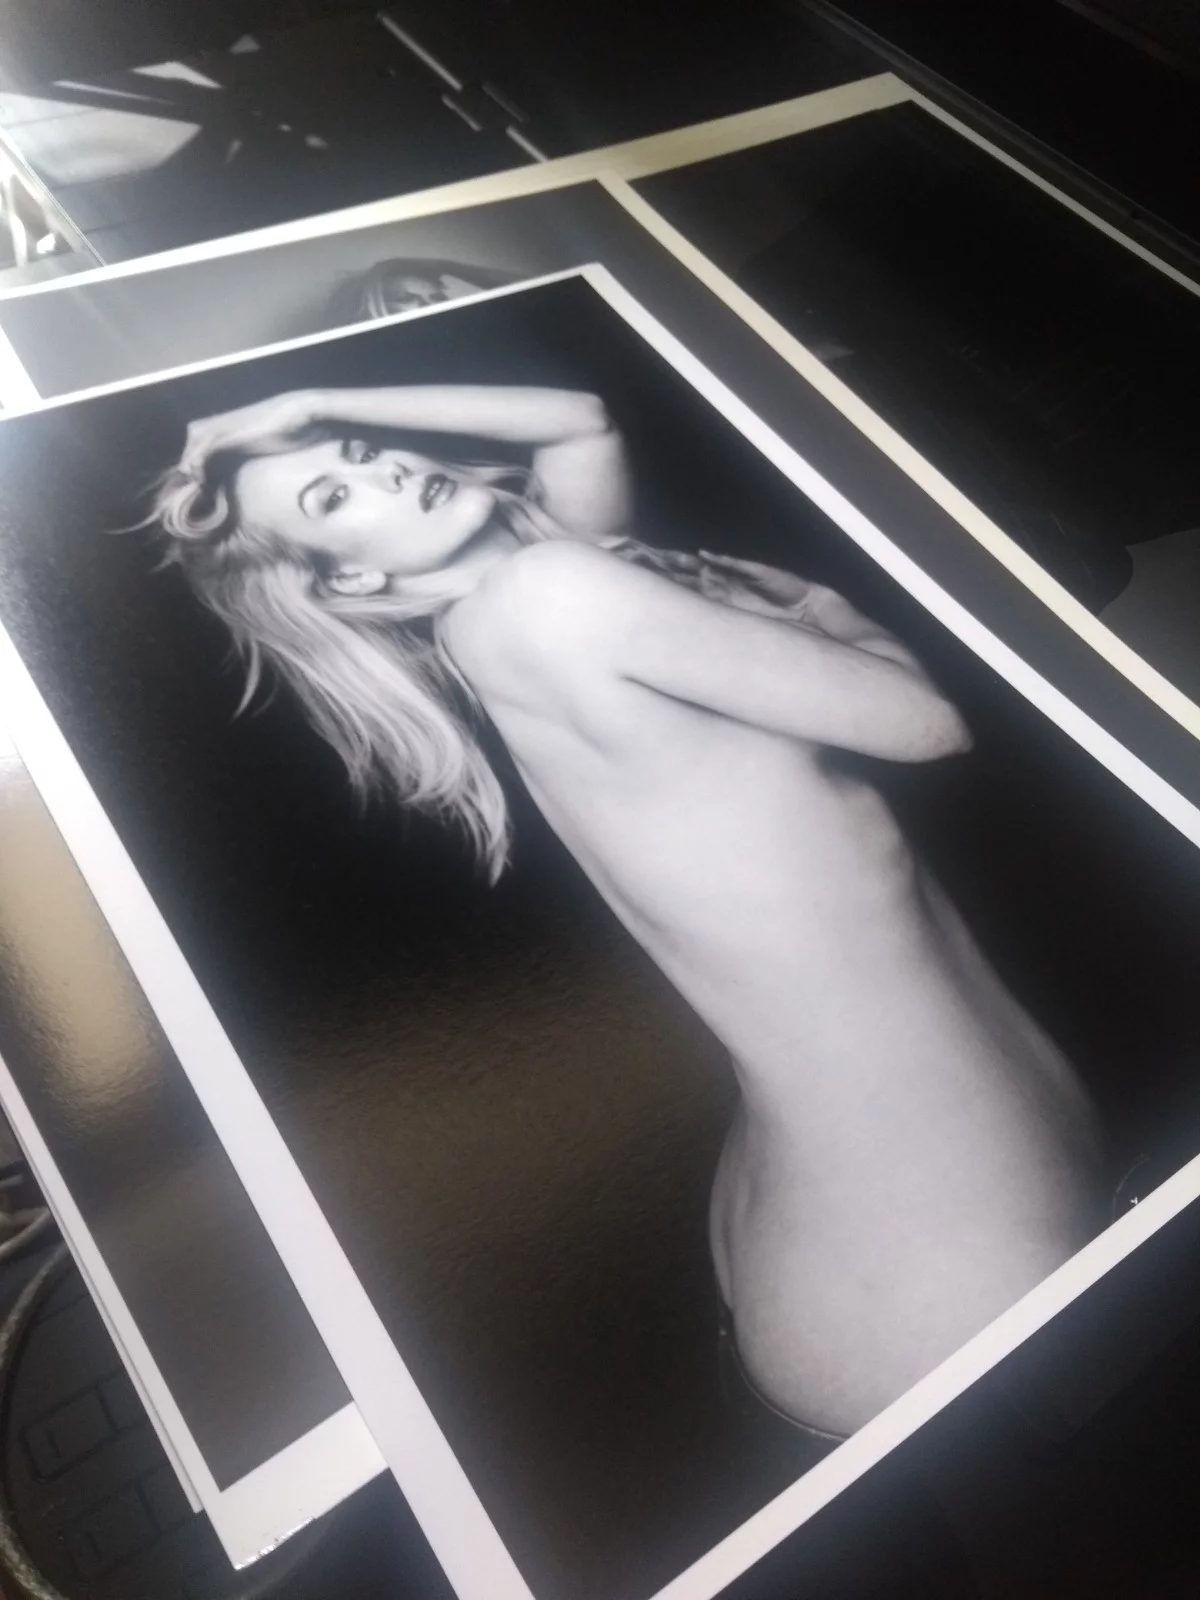
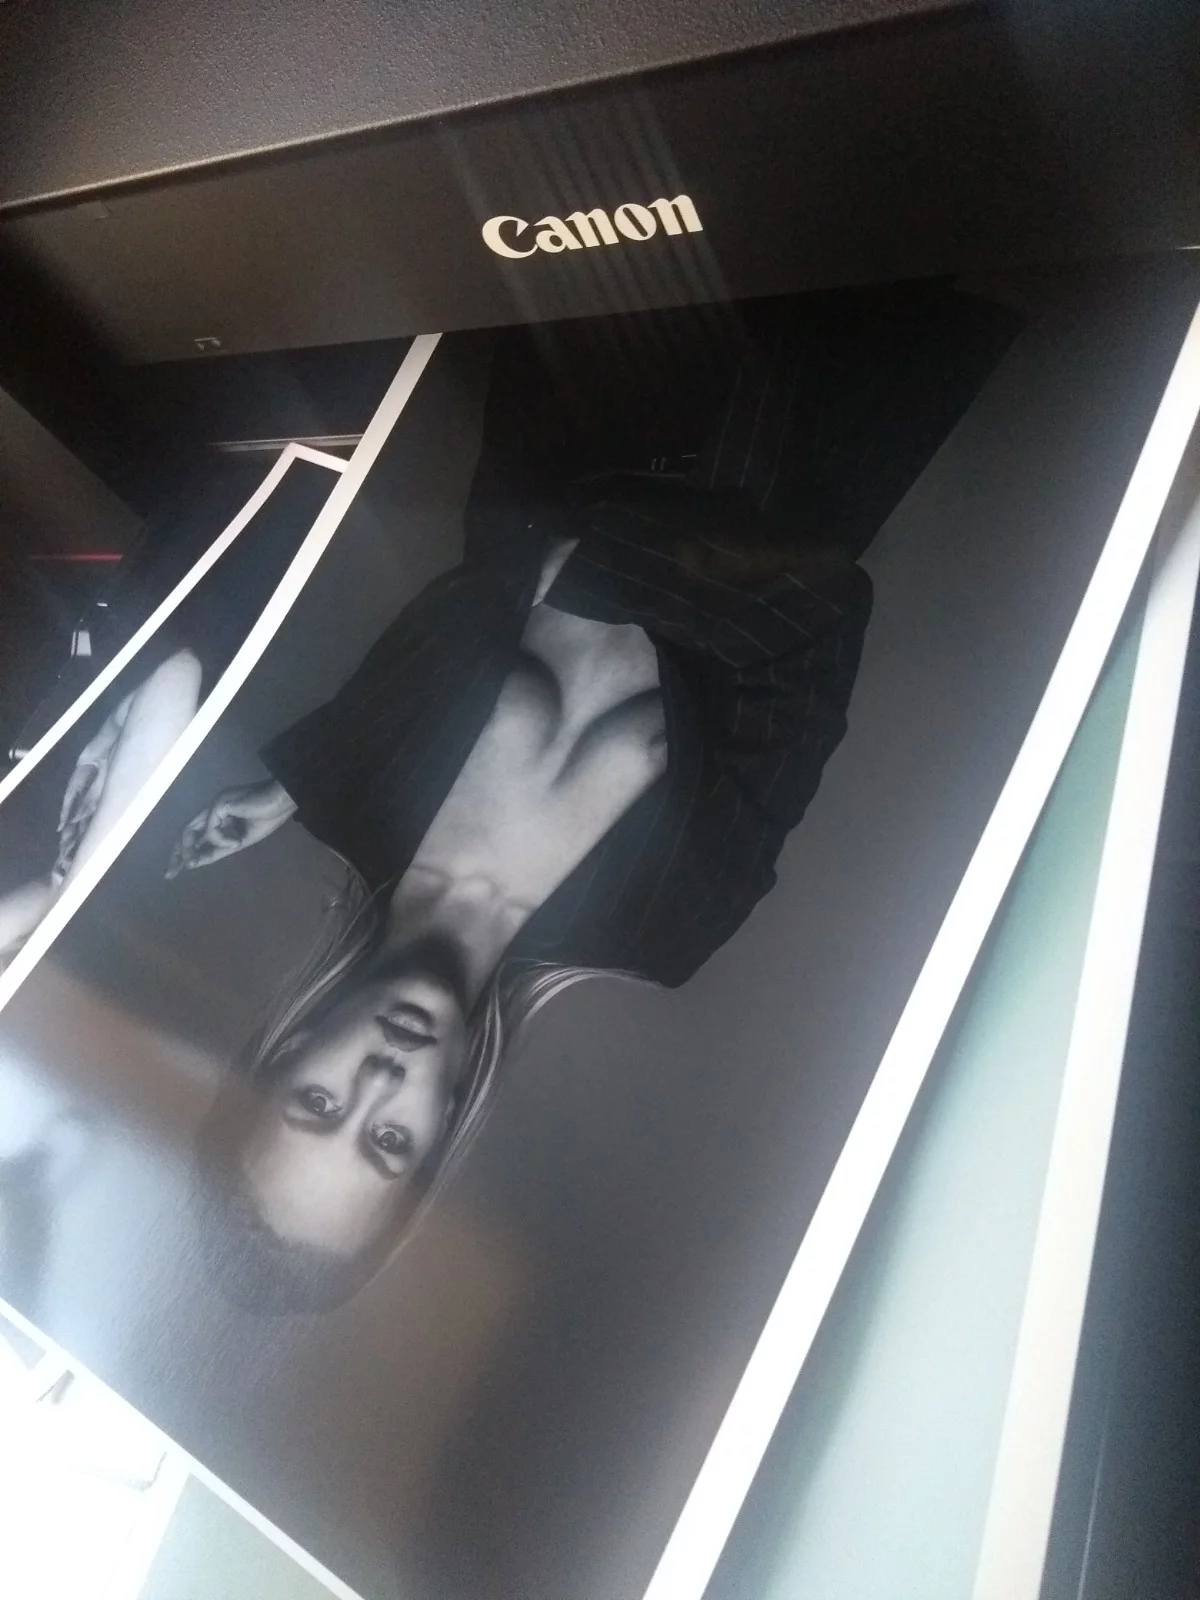
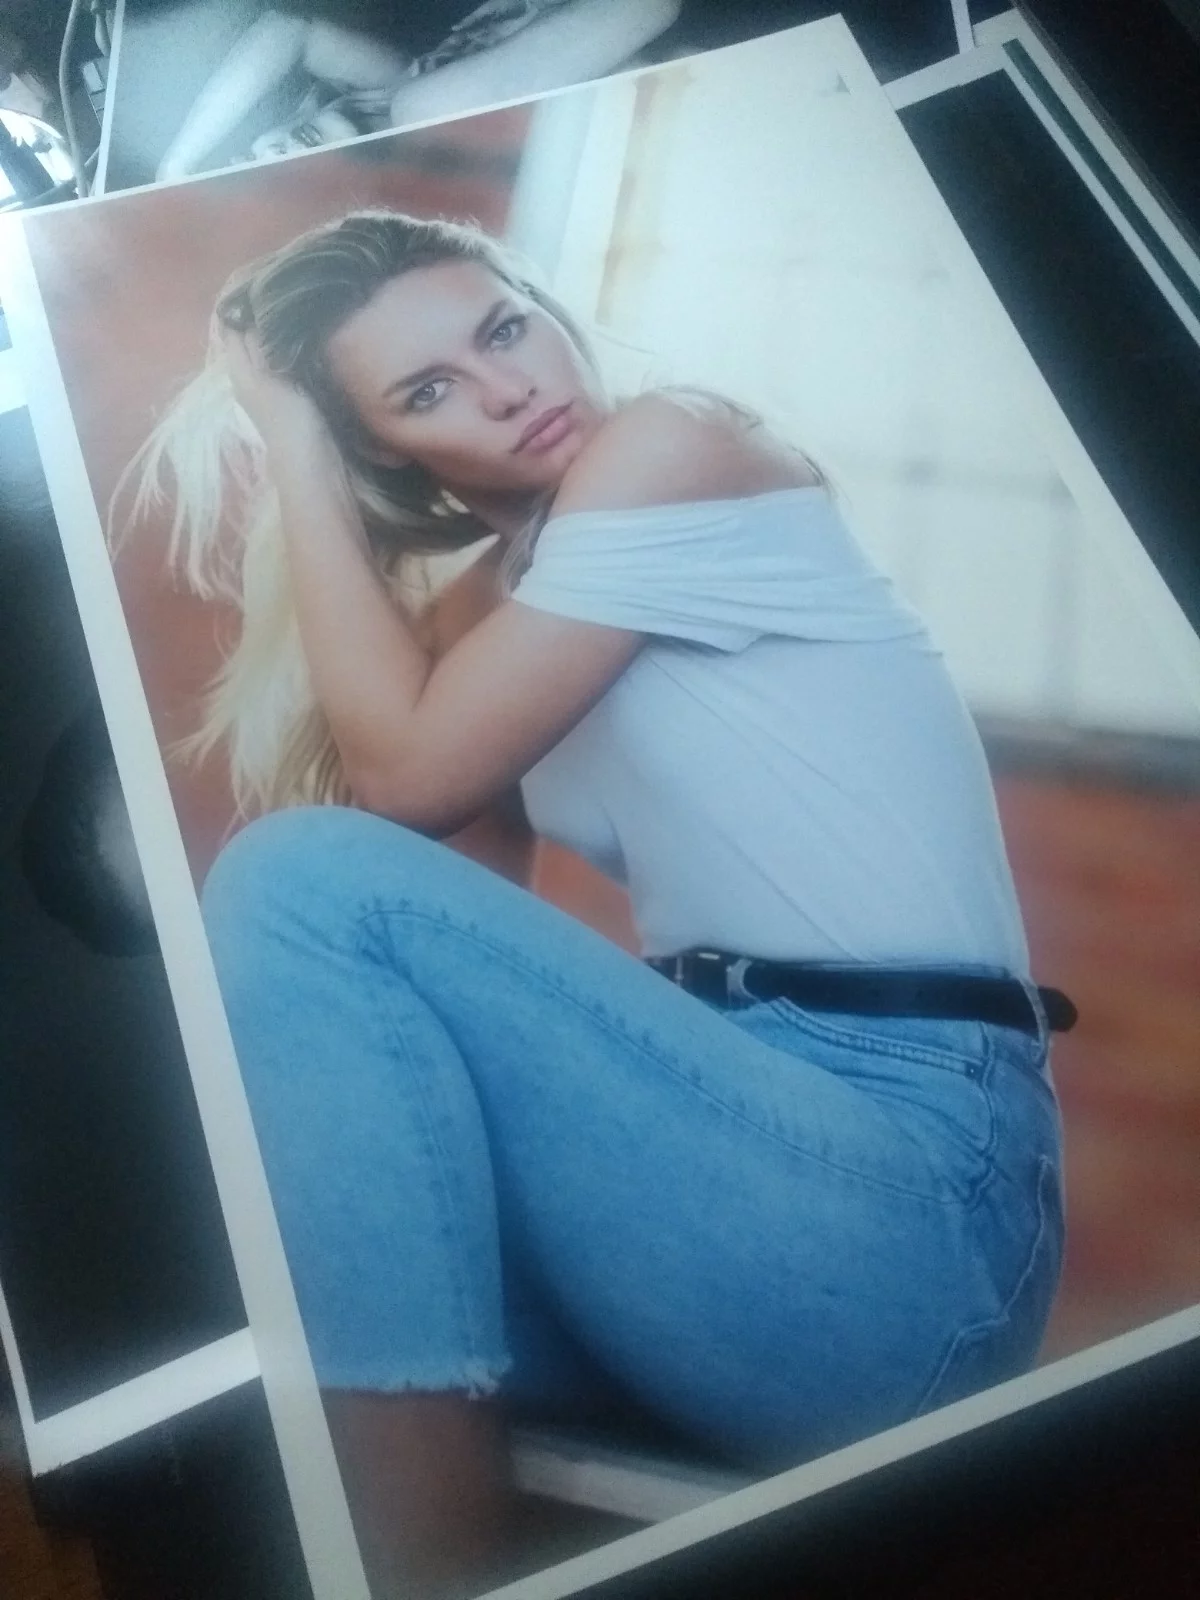
Then comes one of the most exciting moments of a photographers life. Waiting for the print, the ultimate presentation of your art and craft to emerge. It’s like a chef waiting for a meal to emerge plated and presented from the line, that final moment when every element in the image comes together for final consumption. It’s that mixture of excitement and nervous anticipation. During the print process though I was impressed with the quietness and lack of judder. My old Epson threw itself around like the death rattle of a fish on land. This monster sat there and quietly regurgitated it’s prize onto the desk. WOW. Blacks were deep, midtones sculpted her hair and the skin tone was perfect. Every element of the print was there in superb detail and exactly as I envisioned it from screen. Even though there was a large area of deep black in the image the ink wasn’t thick and paper soggy. It was fantastic.
I repeated the exercise with three more papers – FB Mono Gloss Baryta (now discontinued), FB Pearl and Omega Rag. Each time the differences you’d expect were there and illustrated why paper choice can make such a difference to the final image. I was delighted.
So there you go. A very non-technical review of the Canon Pro 1000. Straight out of the box it’s a beautiful piece of kit that does exactly what you want from it. Not cheap and replacement inks aren’t cheap either. If you’re looking to professionally produce prints though this is a tool that looks like it will deliver consistently and stylishly with minimal fuss.
Now I’m off to produce a test sheet so that the nice people at PermaJet can produce a bespoke profile for me to get exact colour rendering. It’s the final touch to complete the link from concept to print.
Come and join us on workshops at my Birmingham Studio and we’ll talk through elements of the print process. I strongly believe that the job isn’t complete until your favourite images are hanging proudly on your wall.
Any questions don’t hesitate to get in touch.
#Canon #Epson #CanonPro1000 #JohnDenton #Printer #PermaJet #FBDistinction #FBPearl #OmegaRag #inkjetmedia


