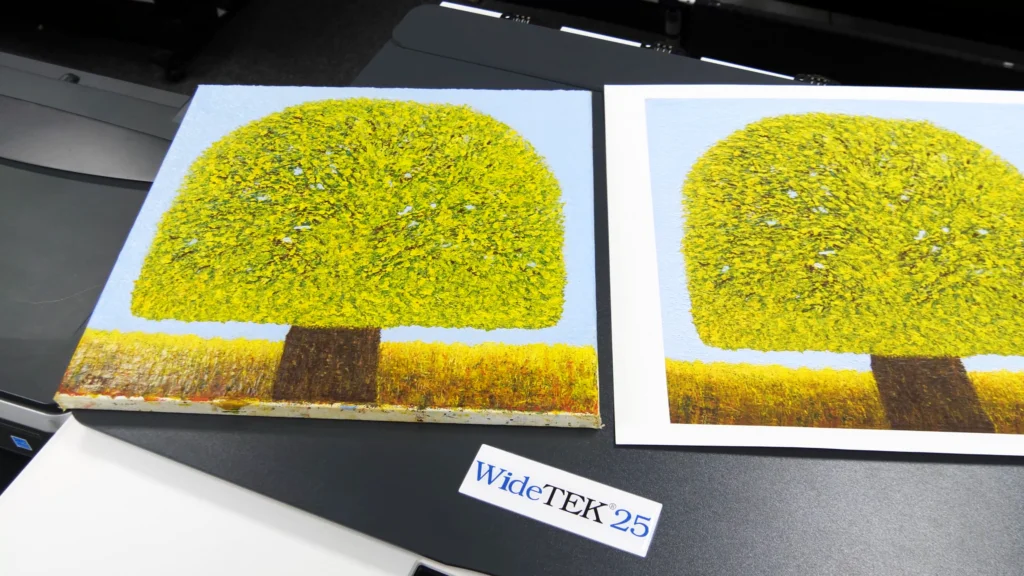
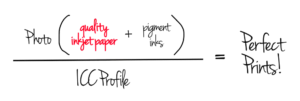
Any Print Lab worth its salt will already know the benefits of providing prints for customers. Whilst the vast majority of files are provided by the customer via a USB pen drive or internet/phone download there is the opportunity to open up an additional revenue stream by offering a scan to print service. The Print Lab can then offer a range of different media options depending on the customers budget and or application for the final print.
Preparing your artwork to print
In order to make prints from any artwork you will need to create a digital file. The digital file is then processed in an imaging software program such as Photoshop, Lightroom or Affinity.
There are two main ways of creating the digital file:
- Photographing the artwork.
- Scanning the artwork.
Photographing Your Artwork
Photographing an image has, in the main, been the most common way of capturing the artwork as most people will have some form of digital camera. Then when using a basic lighting set up a reasonable quality digital file can be achieved.
In order to get the best from any artwork you will need to capture as much information as possible therefore you will need to use a camera with a capability of at least 50 megapixels, for example the Fujifilm FX 50 The more data you can capture then the more detail you can depict in a print as well as being able to produce larger prints.
There are some disadvantages to using a camera when photographing an artwork and these are:
- Dedicated lighting required to illuminate the artwork evenly.
- On large artworks you may have a lack of detail and may well lose the effect of any texture (Acrylic paints).
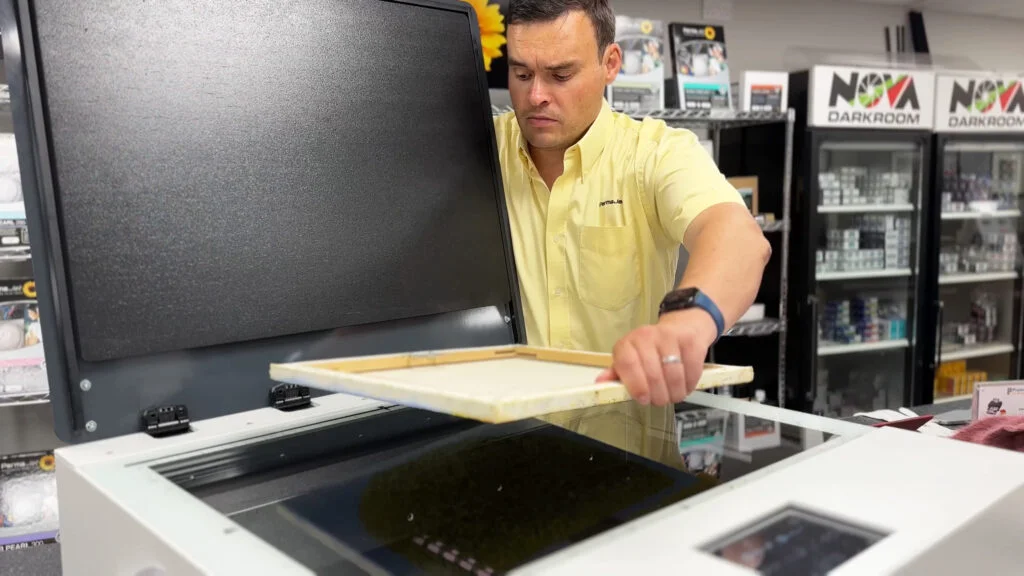
Using a Flatbed Scanner
For large artworks and especially those with textures then the preferred way to capture the digital file is by using a flatbed scanner.
The advantages of using a scanner are:
- High resolution scans enabling the printing of large copies.
- Custom profiled for optimum colour matching.
- Very good if not excellent capture of textured artworks.
- Very sharp results and retention of fine detail.
However, when scanning artworks which are bigger than the scanner platen there is the necessity to do multiple scans and then ‘stitch’ the files together to create one digital file. The quality of the ‘stitching ‘process depends on the software being used and the nature of the artwork. A ‘busy’ artwork is easier for the software to ‘stitch’ as opposed to one with solid blocks of colour.
The ‘stitching’ process within Photoshop using the Photomerge function is very good, relatively straightforward and quick.
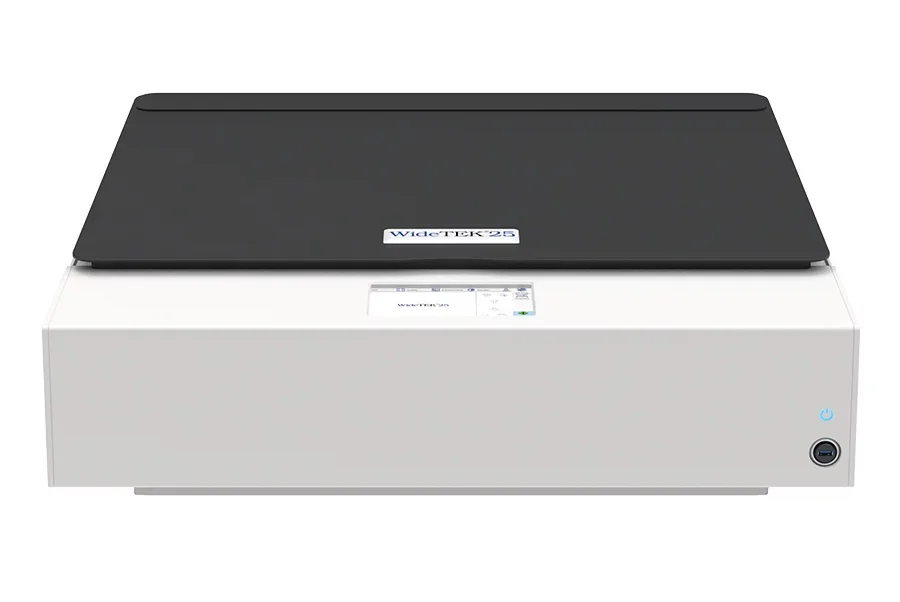
A scanner with an A2 sized platen that uses CCD lighting and has a 3D light setting for textured artworks (such as the Widetek Fine Art scanner) is the best option to consider.
Printing Your Artwork
In this article we’ve covered the process of making prints from your artwork.
If you’d like to delve deeper into how to get the best out of your prints, we have produced a valuable resource called The Knowledge Volume 2: A Step-by-Step Guide to Printing. This eBook covers everything from printers, monitor calibration, ICC profiles, and all the essentials to getting a good print.
Printing on paper
In the realm of inkjet printing, the choice of paper can be as crucial as the image itself. At PermaJet, we believe that every artist and photographer deserve the perfect media to showcase their creations. Our blog “Photo Paper vs Fine Art Paper: What’s the Difference?” delves into the difference between everyday photo papers and fine art papers, shedding light on their unique features and guiding you towards making an informed decision on which suits you best. The Knowledge Vol 2 is also available to download for free alongside The Knowledge Volume 1: The Art of Paper Selection which gives an in-depth overview of the entire range of PermaJet paper.


