
What is infrared photography?
Infrared is found beyond red at the low frequency end of the electromagnetic spectrum. In essence it is photographing the ‘light’ you can’t see. In the days of film we were unable to see the results until the film was processed, but with digital cameras the image is available immediately which means you can now shoot with confidence.
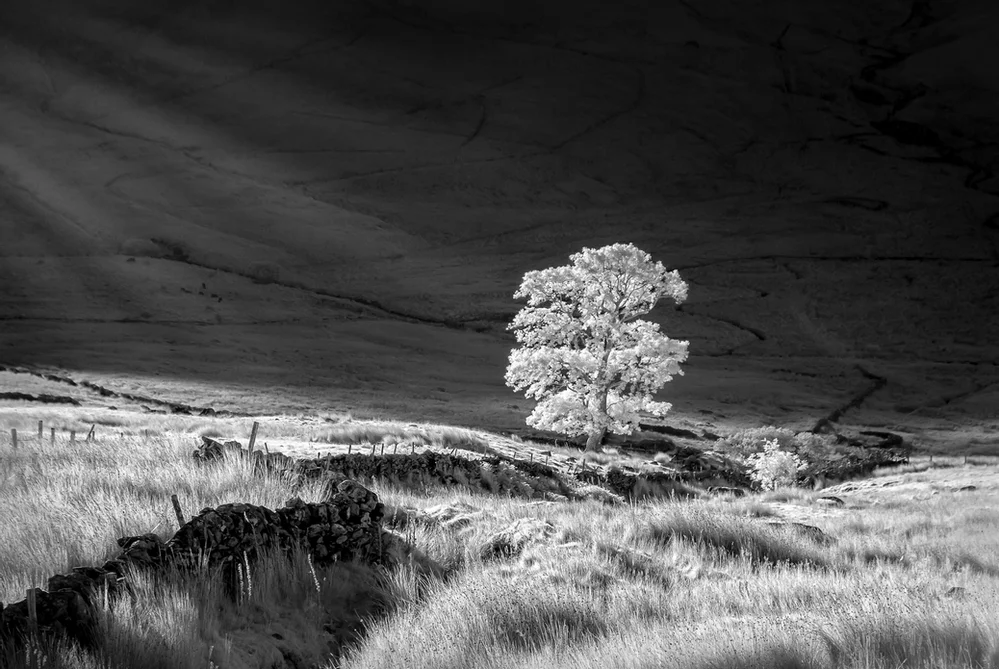
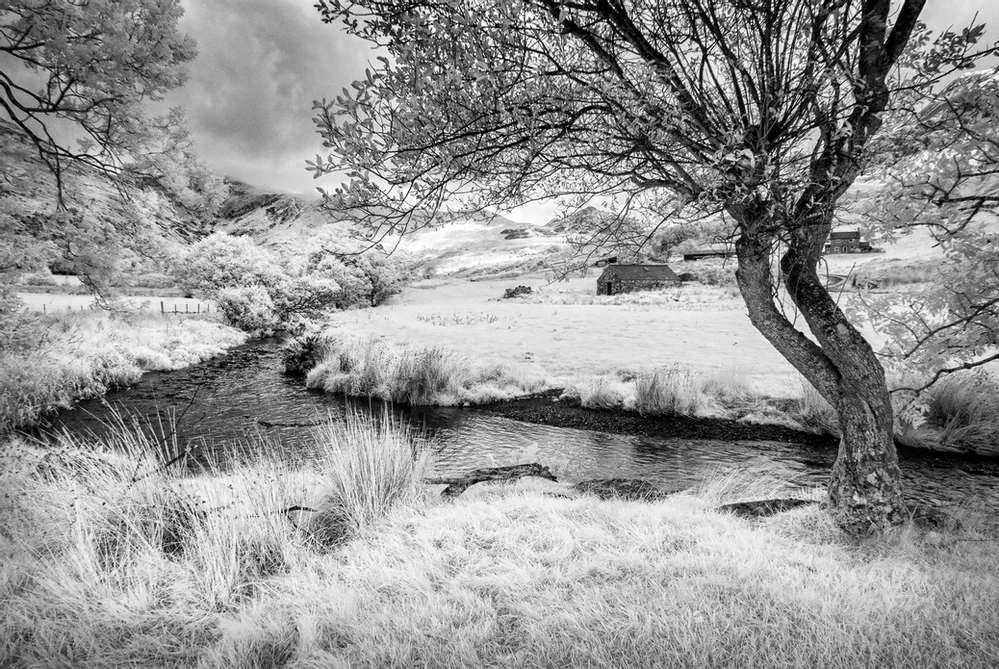
The Slopes of Snowdon © Clive Haynes
The camera
Most cameras will record some infrared, but camera manufacturers filter it out to improve normal colour images. A low-cost way of shooting on a standard camera is to attach a lens filter to block visible light and allow infrared to pass through. The problem with this arrangement is that the IR light is then blocked by the built-in filter in the camera body. The blocking filters aren’t 100% effective so some IR can get through, but with such a small amount registering the exposures become too long for hand-held photography and so a tripod must be used.
The answer is to convert a camera to infrared shooting. During this process the IR blocking filter is removed and an IR pass filter (which blocks visible light) is fitted. Because IR focuses at a different point, the camera is adjusted to allow for this (some of you may remember the red dot on lenses in the old days).
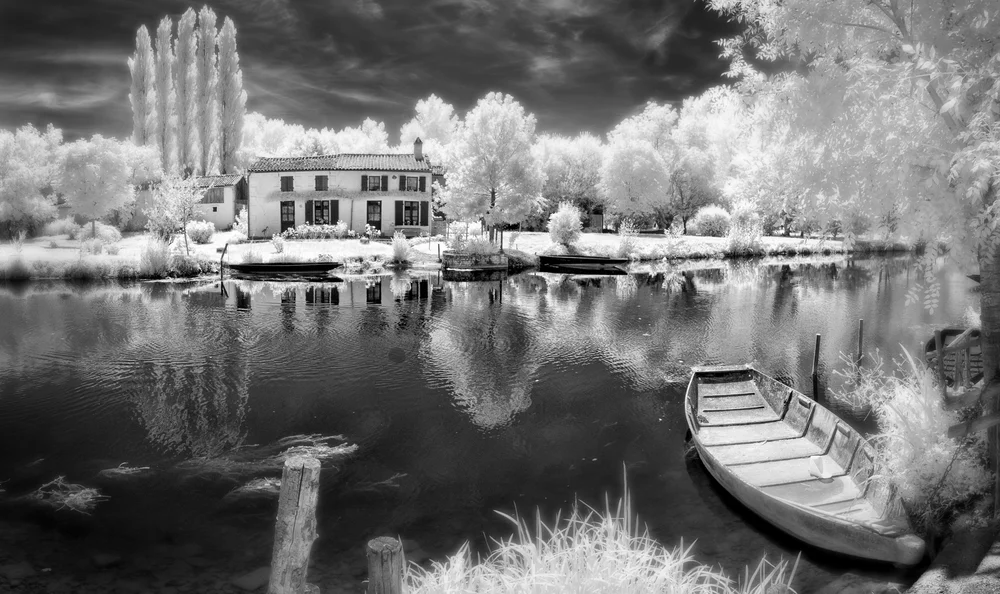
La Sevre Niortaise near Coulon © Clive Haynes
There are two main choices for an IR filter: 720nm and 830nm. My personal choice is the 720nm as it offers the greatest flexibility. However those of you who want lots of ‘false colours’ can opt for the 665nm filter, which is at the edge of the red part of the spectrum, or the 590nm for more orange and red effects.
Once converted, the camera continues to operate in the normal way and to all intents and purposes feels just like a regular non-converted camera, except that the results you see show a whole other world. Use your camera controls as you usually would and make adjustments such as exposure compensation depending upon conditions. To convert your camera it’s best to use a specialist company, details of which you can find at the bottom of this post.
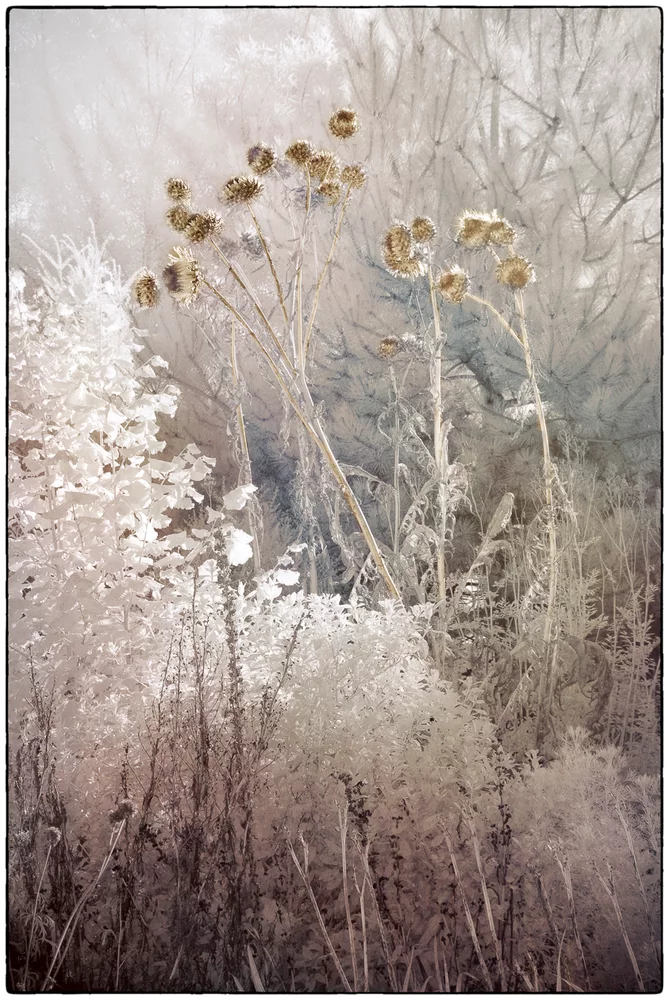
Thistle Heads © Clive Haynes
Processing the infrared image
This is a brief overview of my standard IR workflow. My preferred method is to shoot RAW then import the image into Lightroom (or Adobe Camera RAW) and make all the normal routine adjustments.
Next, open the image in Photoshop and use the ‘channel swapping’ technique. Channel swapping gives additional selective tonal control. Once you’re satisfied, ‘flatten’ the image and make a copy of the background image. I then use either a Topaz Plug-In or Nik Silver Effects to add zest and/or romance, before adding a layer mask to the Topaz/Nik Layer and applying it selectively. You can make any additional tonal changes with a curves adjustment layer.
For more in-depth information on my work process, ‘channel swapping’ and the Topaz Plug-In range visit my website: www.crhfoto.co.uk
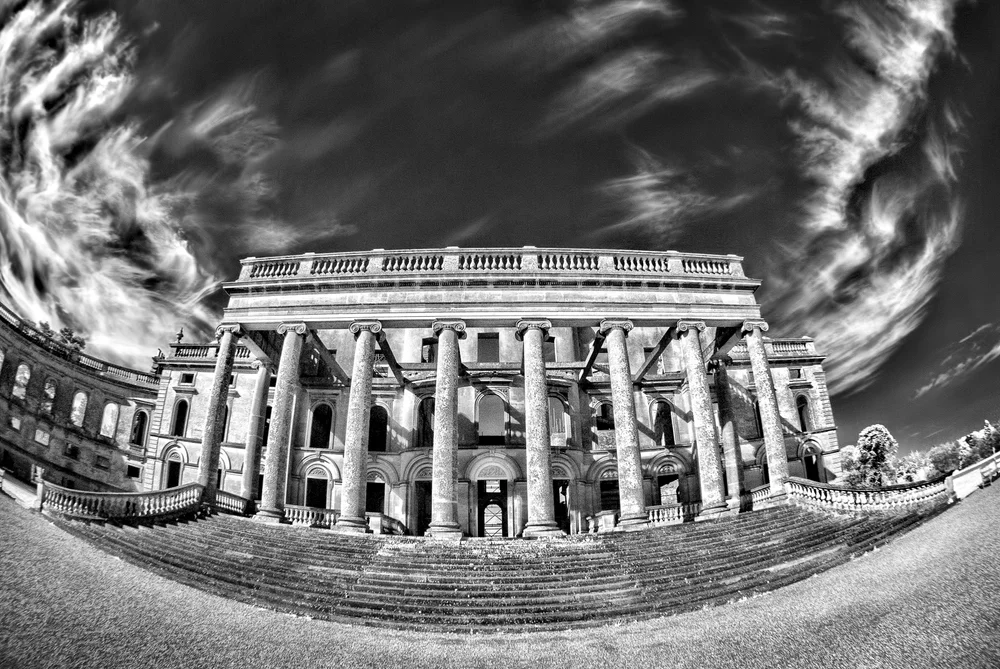
Witley Court, Grandeur In Ruins © Clive Haynes
Printing
I choose a PermaJet paper to suit the subject. For crisp whites I use ‘FB Distinction 320’, for something a little warmer ‘FB Royal Gloss 310’, or for an ‘arty’ approach I’ll select from the ‘Fine Art’ range to enhance the subject. When I can’t make my mind up about a paper surface then the ever-popular ‘Oyster 271’ is my preferred surface. I have an Epson printer and I use the ‘Advanced Black & White Printing’ mode for my monochrome work.
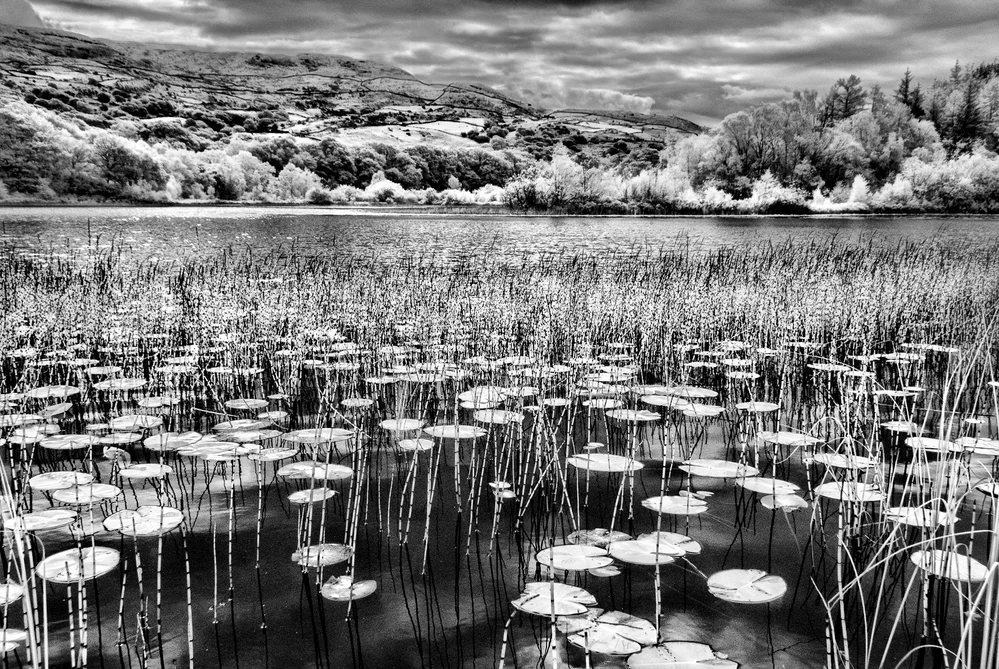
Lillies and the Lake © Clive Haynes
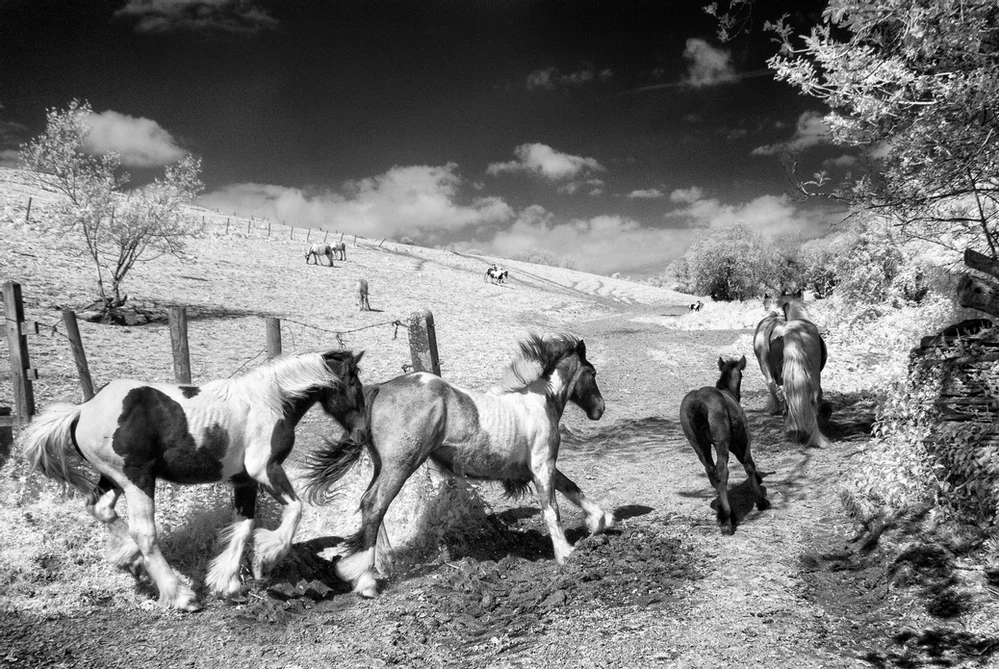
Free Spirits © Clive Haynes
Can you see through people’s clothing?
No! But at one time people really thought IR would do this. Indeed a few years ago, in litigation-sensitive USA, one could only buy an IR camera for ‘scientific, research or forensic’ purposes. It was an urban myth, yet the authorities once believed it.
All year-round opportunities
Many photographers find the summer months, with landscapes dominated by shades of green, the least attractive time of year. The great thing about IR is that it allows landscapes to become an all-year-round pursuit. Now summertime offers wonderful opportunities that glow with intensity and lyricism. Early spring, late autumn and winter are equally great, as sparsely leafed or bare trees in stark outline look wonderful set against radiant white and eerie, mysterious backgrounds.
Cwm Pennant © Clive Haynes
Shooting in infrared is fantastic!
If you’re thinking about trying it I encourage you to do so – it’ll open a whole new world of opportunities and ways to express yourself. Whilst traditionally the principle subject matter tends to be landscape, it’s not exclusive as many other subjects also look superb in infrared.
Website: www.crhfoto.co.uk
IR Camera Conversion Specialist: Advance Camera Services (ACS)
www.advancedcameraservices.co.uk
01953 889324
#infrared #photography #digital #howto #technical #permajet #clivehaynes #advice #stunning