
Creating prints of your artwork or illustrations is one of the most effective ways to share your work, build an audience, and generate income without selling the original piece. Whether you’re a fine artist, illustrator, or digital creative, learning how to make prints of your art properly ensures your work looks professional, consistent, and true to your original vision.
In this guide, we’ll cover the complete process – from preparing your artwork and digitising physical pieces, to choosing the right paper, printer, and finishing methods – so you can confidently create high-quality art and illustration prints.
Understanding Art Prints and Reproductions
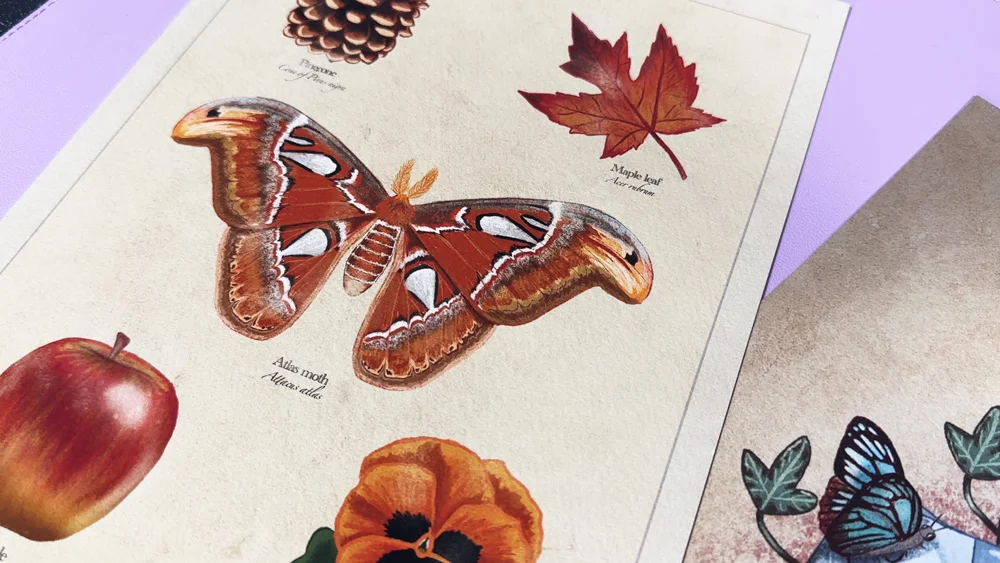
Art prints are reproductions of an original artwork, created using printing techniques that accurately capture colour, detail, and texture. Unlike originals, prints can be produced multiple times, making your work more accessible to collectors and fans.
You’ll often hear prints described as either:
- Open edition prints – Unlimited quantities, ideal for affordable art sales
- Limited edition prints – Produced in a fixed number, often signed and numbered, which can increase perceived value
Regardless of edition type, quality matters. Poor printing, incorrect colours, or unsuitable paper can diminish the impact of even the strongest artwork.
Preparing Your Artwork for Printing
Before you think about printers or paper, preparation is key. This step determines how accurately your final print reflects the original.
Digital artwork
If you work digitally, ensure your files are:
- At least 300 DPI at final print size
- Saved in a suitable colour space (we always recommend Adobe RGB for print)
- Exported in a high-quality format such as TIFF or maximum-quality JPEG
Physical artwork
For traditional media like painting, drawing, or mixed media, preparation involves digitisation – either scanning or photographing your work – which we’ll cover next.
Turning Physical Art into Digital Prints
If you’re wondering how to turn physical art into digital prints, there are two main methods:
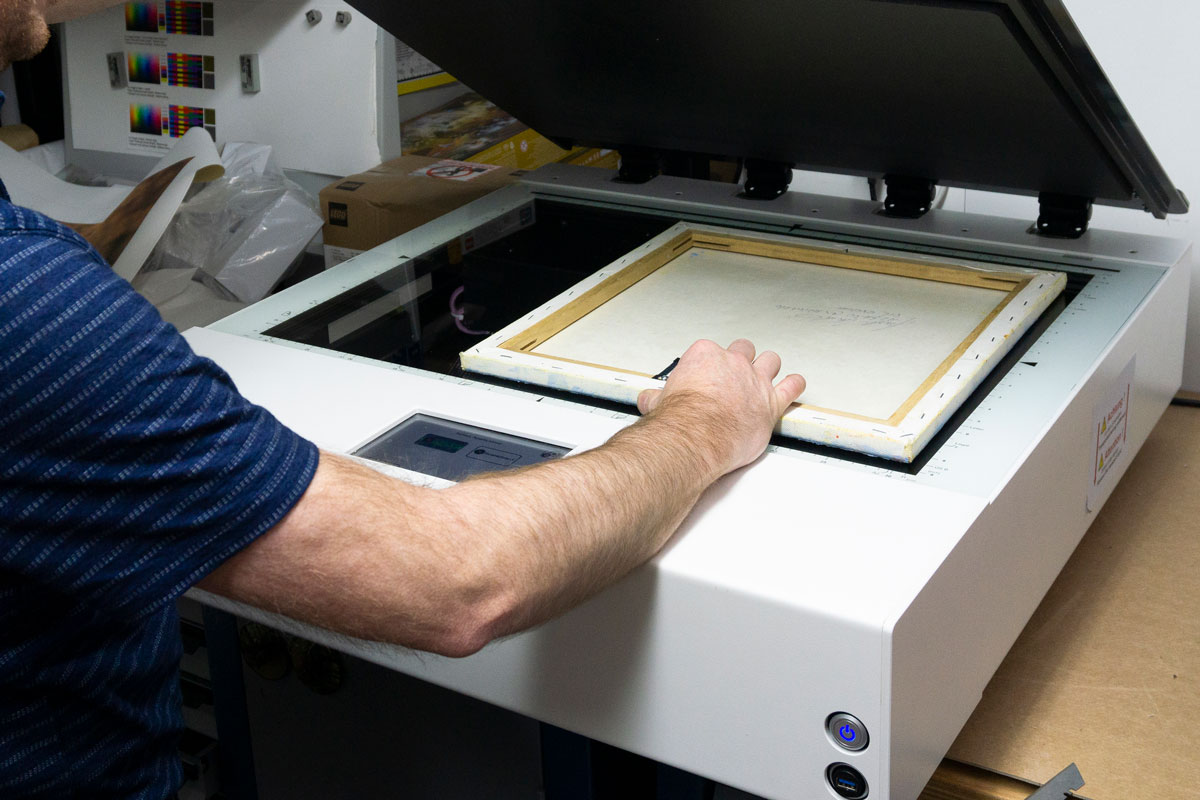
Scanning
Flatbed scanners work well for smaller pieces and artworks with minimal texture. Look for scanners capable of at least 600 DPI to retain fine detail.
Photographing artwork
Photography is another option for capturing your artwork. Key considerations include:
- Even, neutral lighting to avoid shadows and glare
- Keeping the camera perfectly parallel to the artwork
- Colour correction during editing to match the original
Accurate digitisation is essential when learning how to get prints of your art that truly represent your work.
Choosing the Right Paper for Art and Illustrations
Paper choice has a huge influence on the final look and feel of your prints. Weight, texture, and coating all affect colour, contrast, and longevity.
Common paper types include:
- Smooth fine art papers – Ideal for detailed illustrations and photography
- Textured rag papers – Perfect for traditional art, adding depth and character
- Gloss and lustre papers – Popular for bold colours and high contrast
Archival-quality inkjet papers, such as those designed for fine art printing, ensure your prints resist fading and maintain their appearance over time. Choosing the right paper is a crucial step in how to create art prints that stand out.
PermaJet created an Artist Essentials Test Pack which contains a curated selection of papers recommended for artists. This is the perfect way to test out your artwork on various paper types and discover which works best.
Choosing the Right Printer and Inks
When deciding to create your own art prints, your printer and inks matter just as much as your paper.
Look for printers that offer:
- Pigment-based inks for longevity
- 6 or more inks for more accurate colour reproduction
- A3 or greater capability so you can offer larger sizes
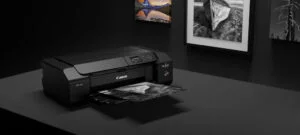
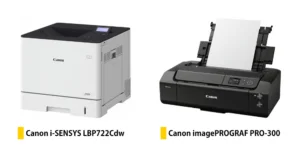
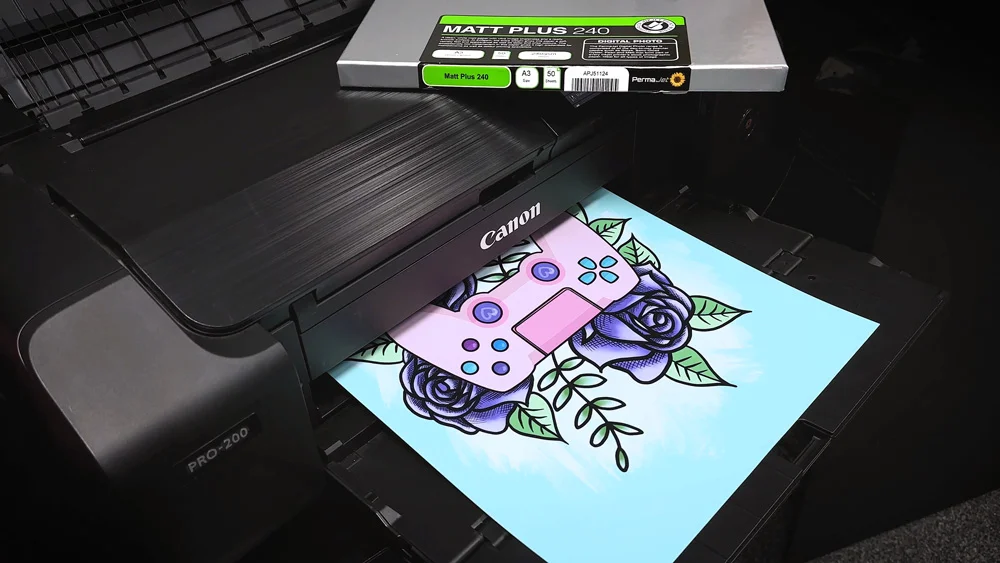
High-quality pigment inks, combined with archival paper, can produce prints that last decades without noticeable fading. At PermaJet, we highly recommend Canon’s desktop PRO range.
How to Print Illustrations at Home
Home printing gives artists full control over the process and is ideal for small batches or testing.
A basic workflow includes:
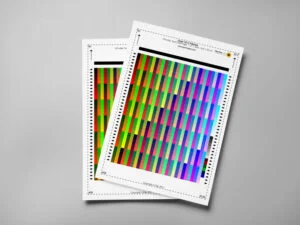
- Calibrating your monitor
- Using ICC profiles for consistent and accurate results
- Running small test prints
- Making adjustments before final printing
Understanding how to print illustrations at home also means learning to troubleshoot common issues like colour shifts, banding, or paper handling errors.
Professional Printing vs Printing at Home
If you’re deciding between home printing and outsourcing, consider the following:
- Printing at home offers control, flexibility, and fast turnaround
- Professional printing provides consistency and scalability for large runs
Many artists use a hybrid approach – printing limited editions at home and outsourcing larger commercial batches.
Finishing, Handling and Selling Your Prints
Once printed, finishing touches elevate your work:
- Trim prints cleanly with a sharp cutter
- Sign and number limited editions
- Store flat in archival sleeves
Presentation matters too. Backing boards, protective packaging, and clear labelling help your prints arrive safely and professionally.
In Summary
Learning how to make art prints involves more than pressing “print.” From preparation and digitisation to paper choice and finishing, every step impacts the final result and how your art will be perceived. By investing time in the right process and materials, you can create prints that truly do justice to your artwork.
FAQ’s
How do I get my artwork printed?
You can print artwork at home using a high-quality inkjet printer and fine art paper, or work with a professional print lab for larger runs.
How do I make prints of my original artwork?
Digitise the artwork through scanning or photography, prepare the file correctly, and print using archival inks and paper.
How do I turn physical art into digital prints?
Use a high-resolution scanner for small works or photograph larger pieces with controlled lighting and colour correction.
How do I print illustrations at home?
Calibrate your monitor, use the correct paper profiles, run test prints, and adjust settings for accurate colour and detail.