To receive a message over social media from the team at PermaJet saying… ‘As a thank you for being a loyal customer and regularly supporting us on social media, we would like you to be one of the 1st to try the new Titanium Gloss 300gsm paper’ was a lovely surprise.
They said they would send over a few sheets to have a play around with and for me to give them some honest feedback and stick a few posts up on social media about it in return, I have not been paid to write this nor been offered anything other than 5 sheets of A3 paper and 1 sheet of A4 paper to test with, nor have they promised me any other goods in return, these are just my honest feelings on a paper that has been produced by a company that’s products I believe in and am willing to spend my own hard earned money on.
So here it is, I hope it is easy to read, it’s a long post for a dyslexic to write…
First impressions
I first got a real taste for printing my work in 2013 when I was at UNI, £8 for an A2 fine art or lustre paper print, I was living the dream. I favoured the feel on the textured papers, so I tend to use them for most of my work along with the dry Oyster being the most glossy I will use.
I am a creature of habit and I like what I like, so when I finished UNI and ended up needing to get my own printer the obvious choice was to stock up on paper that I knew I liked – I have never really experimented with many others until now.
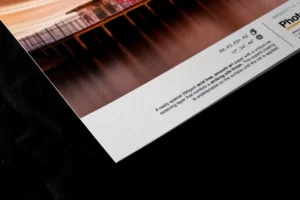
I opened up the box and saw how shiny the paper looked, I had never seen a paper like this. It almost looks metallic but the shine is just stunning. Funnily enough, it’s off white, it’s a titanium colour but not something that distracts the eye at all like a pure white paper can easily do.
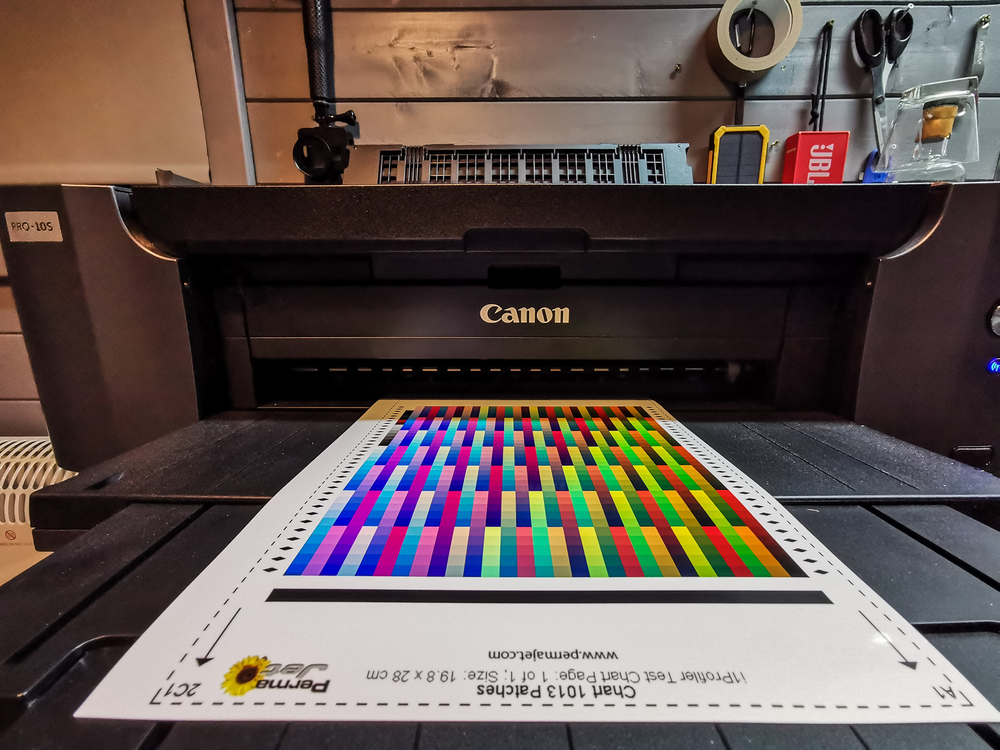
My 1st print had to be the custom profile print, it is always best to know that you are working with the best colour accuracy you can. With this being a new paper, there was no ICC profile available for the Canon Pro 10s I am using. All I had to do was download the file from the PermaJet website, follow the simple instructions, get the print out of the printer, post it and in a matter of a few days I received my profile via email and I was good to go.
Print 1
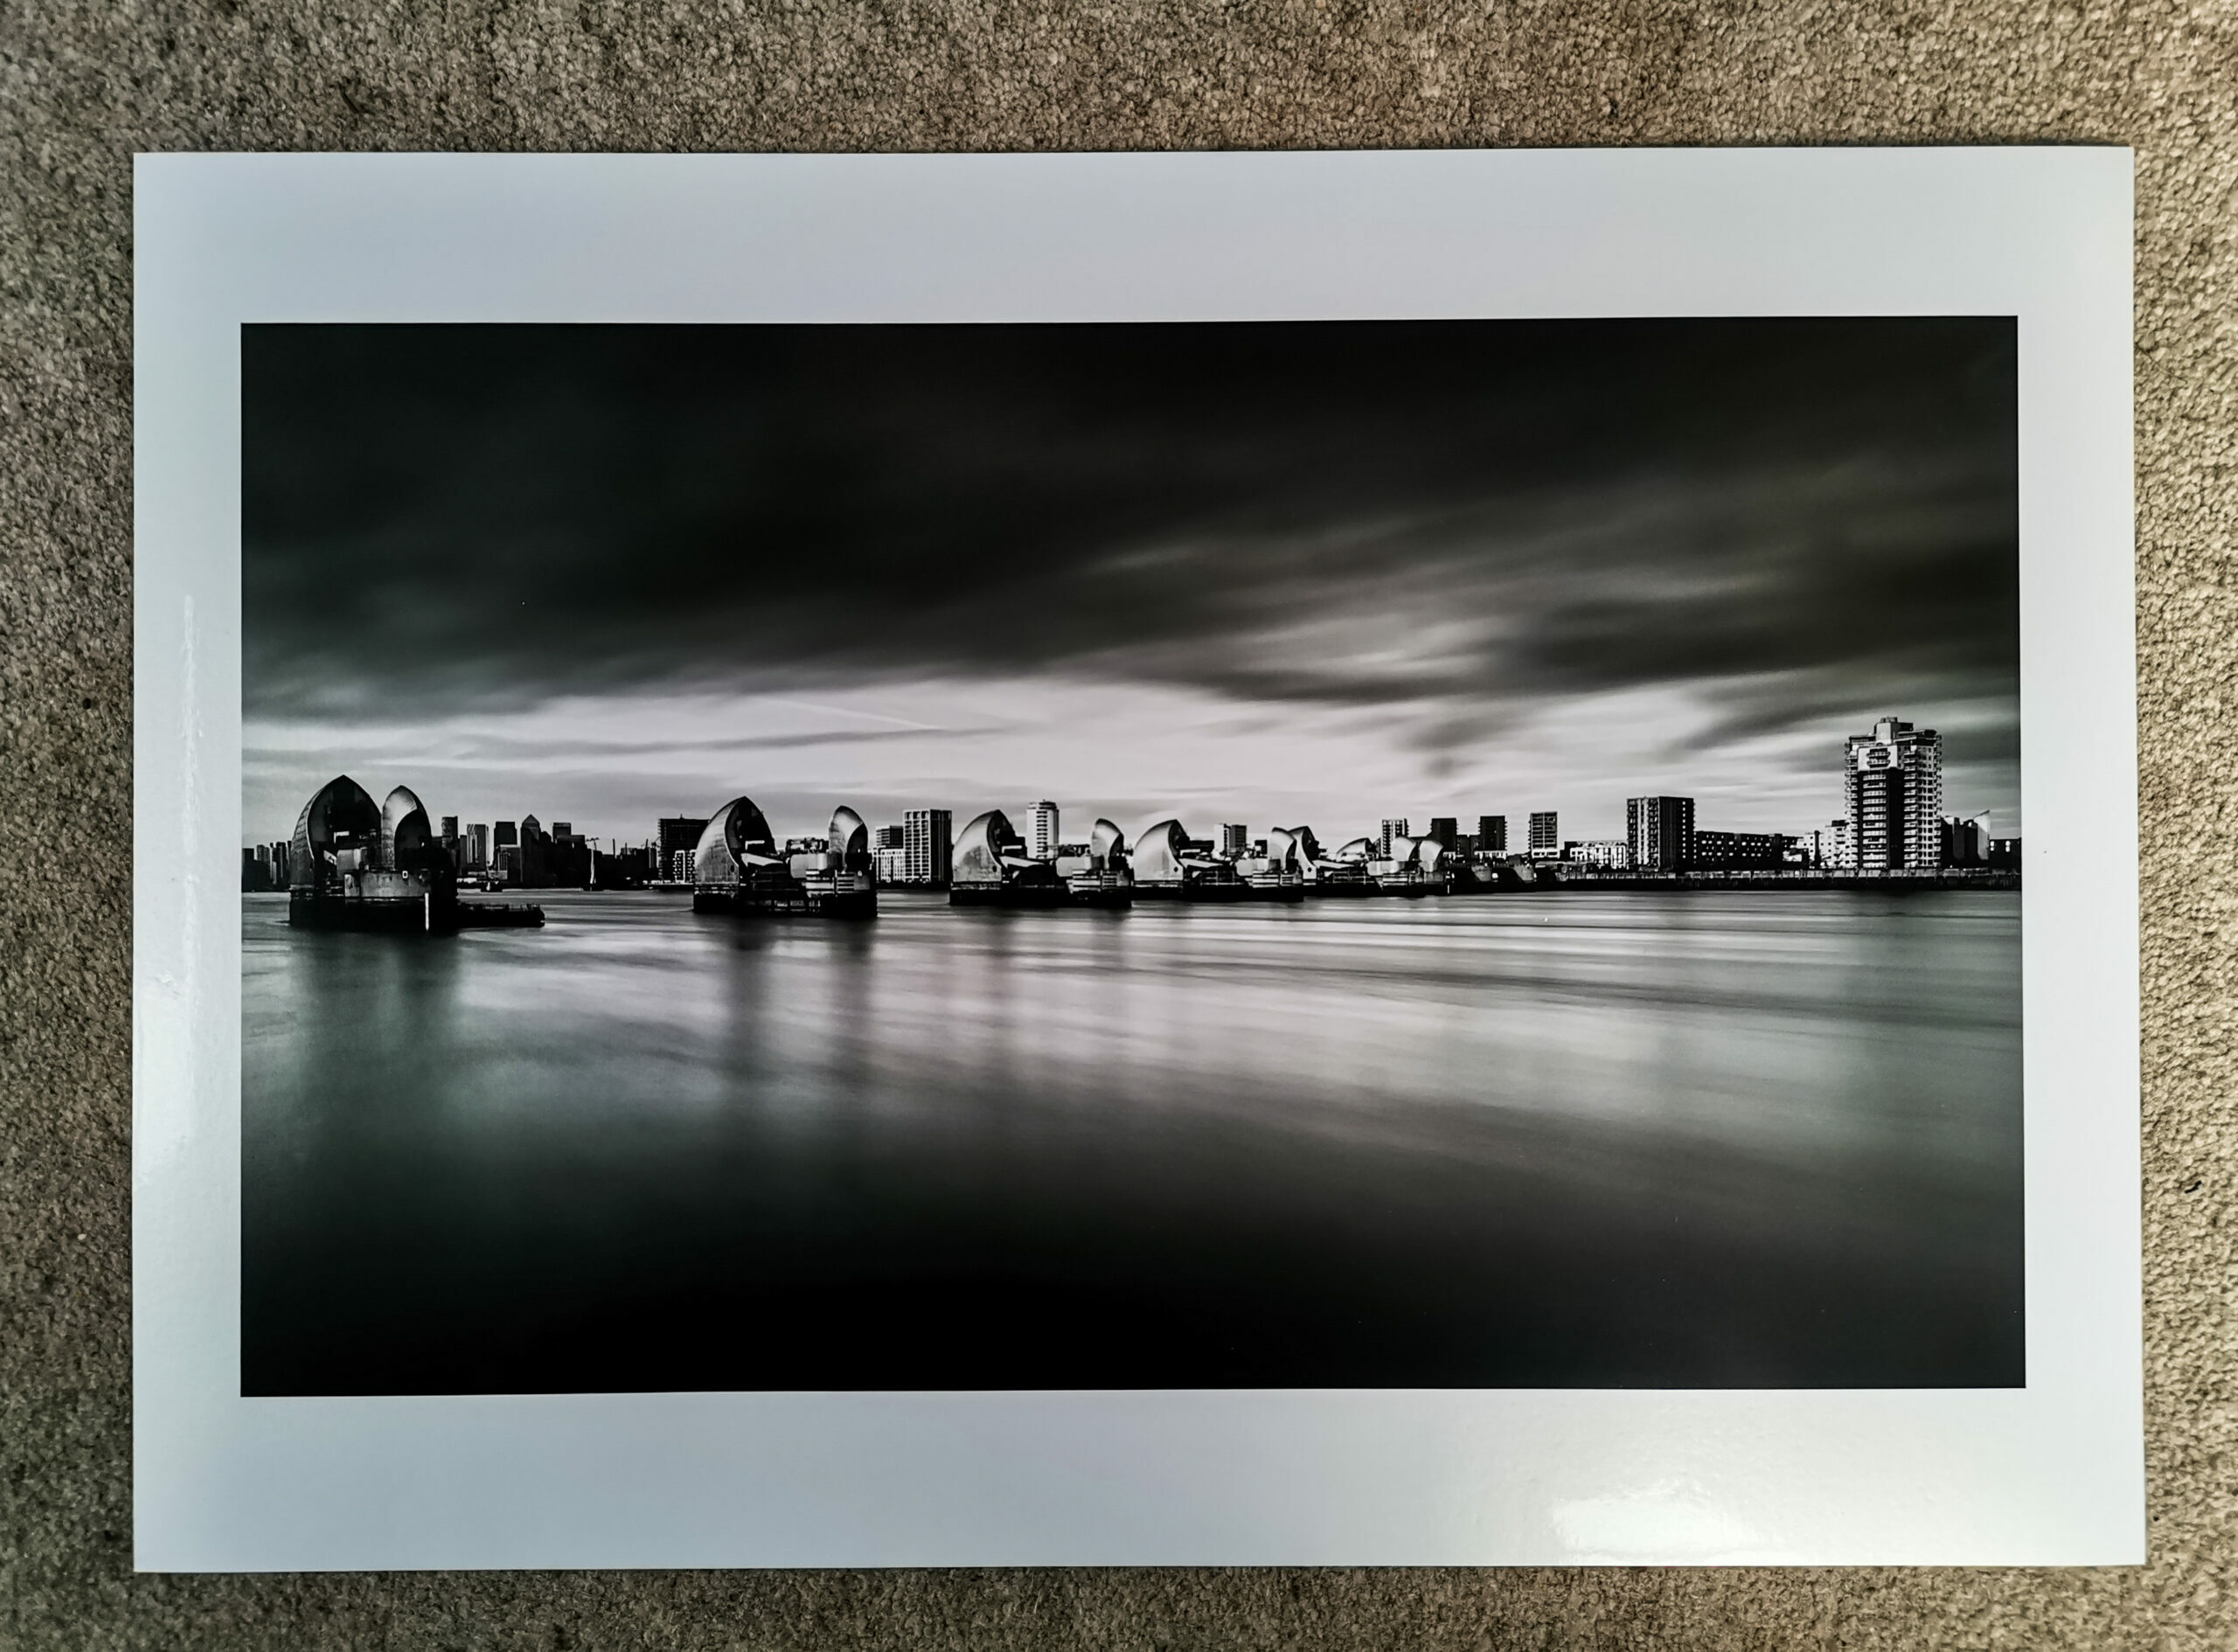
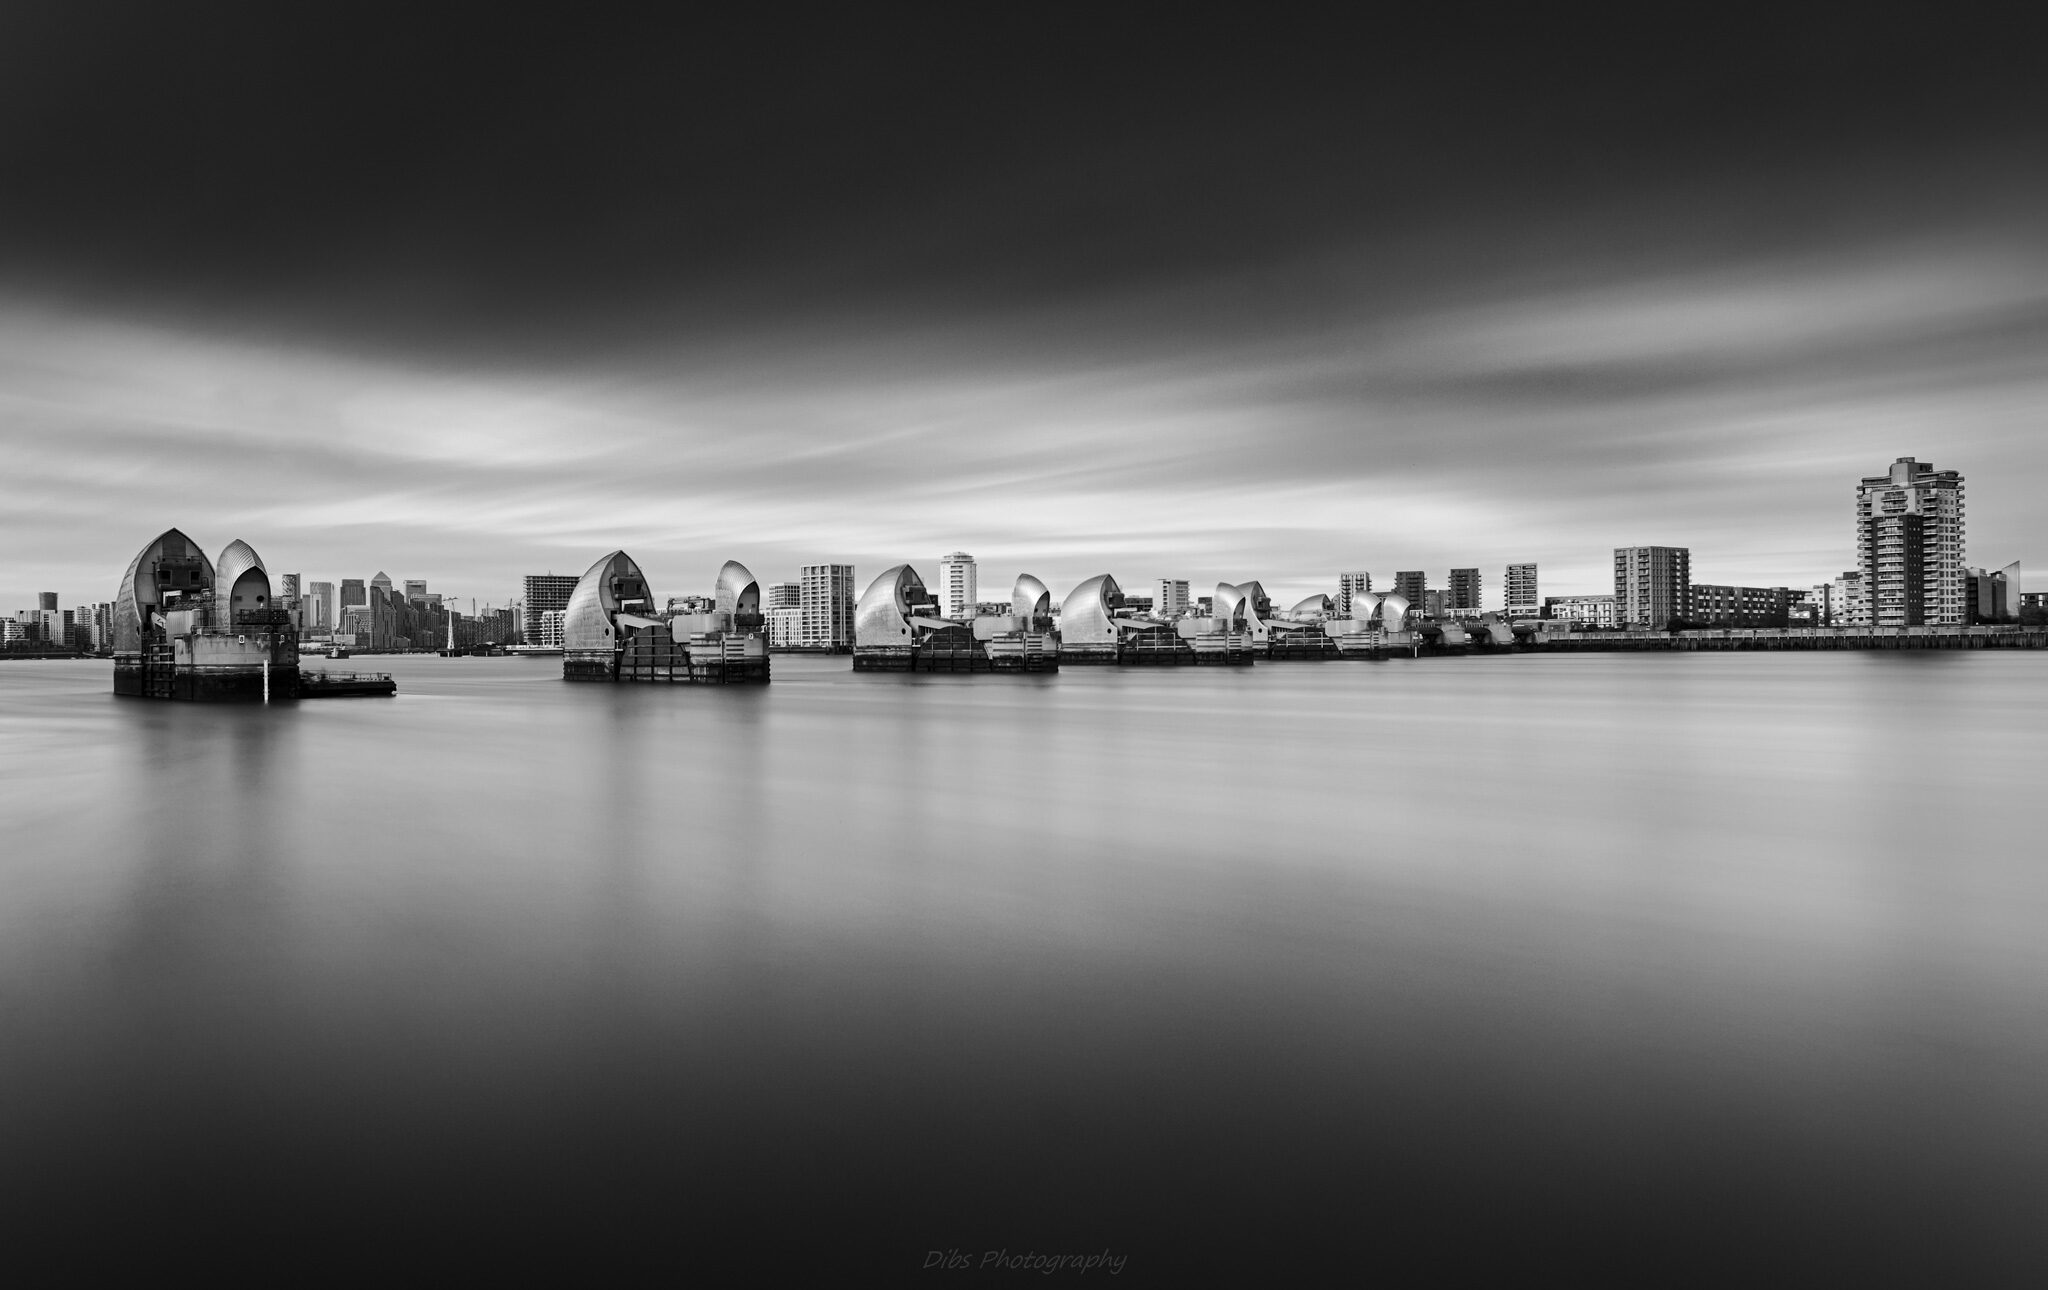
The 1st of my images to print was one I had done on the Oyster 271 paper for a few print sales, so I knew what to partially expect from the water in the shot. What I was not ready for was the metal barrier looking like it was starting to pop out of the paper and as if it was metal laid onto the paper, it was hard work resisting the urge to touch it to see if you could feel it… Is that not what a print is meant to do though?
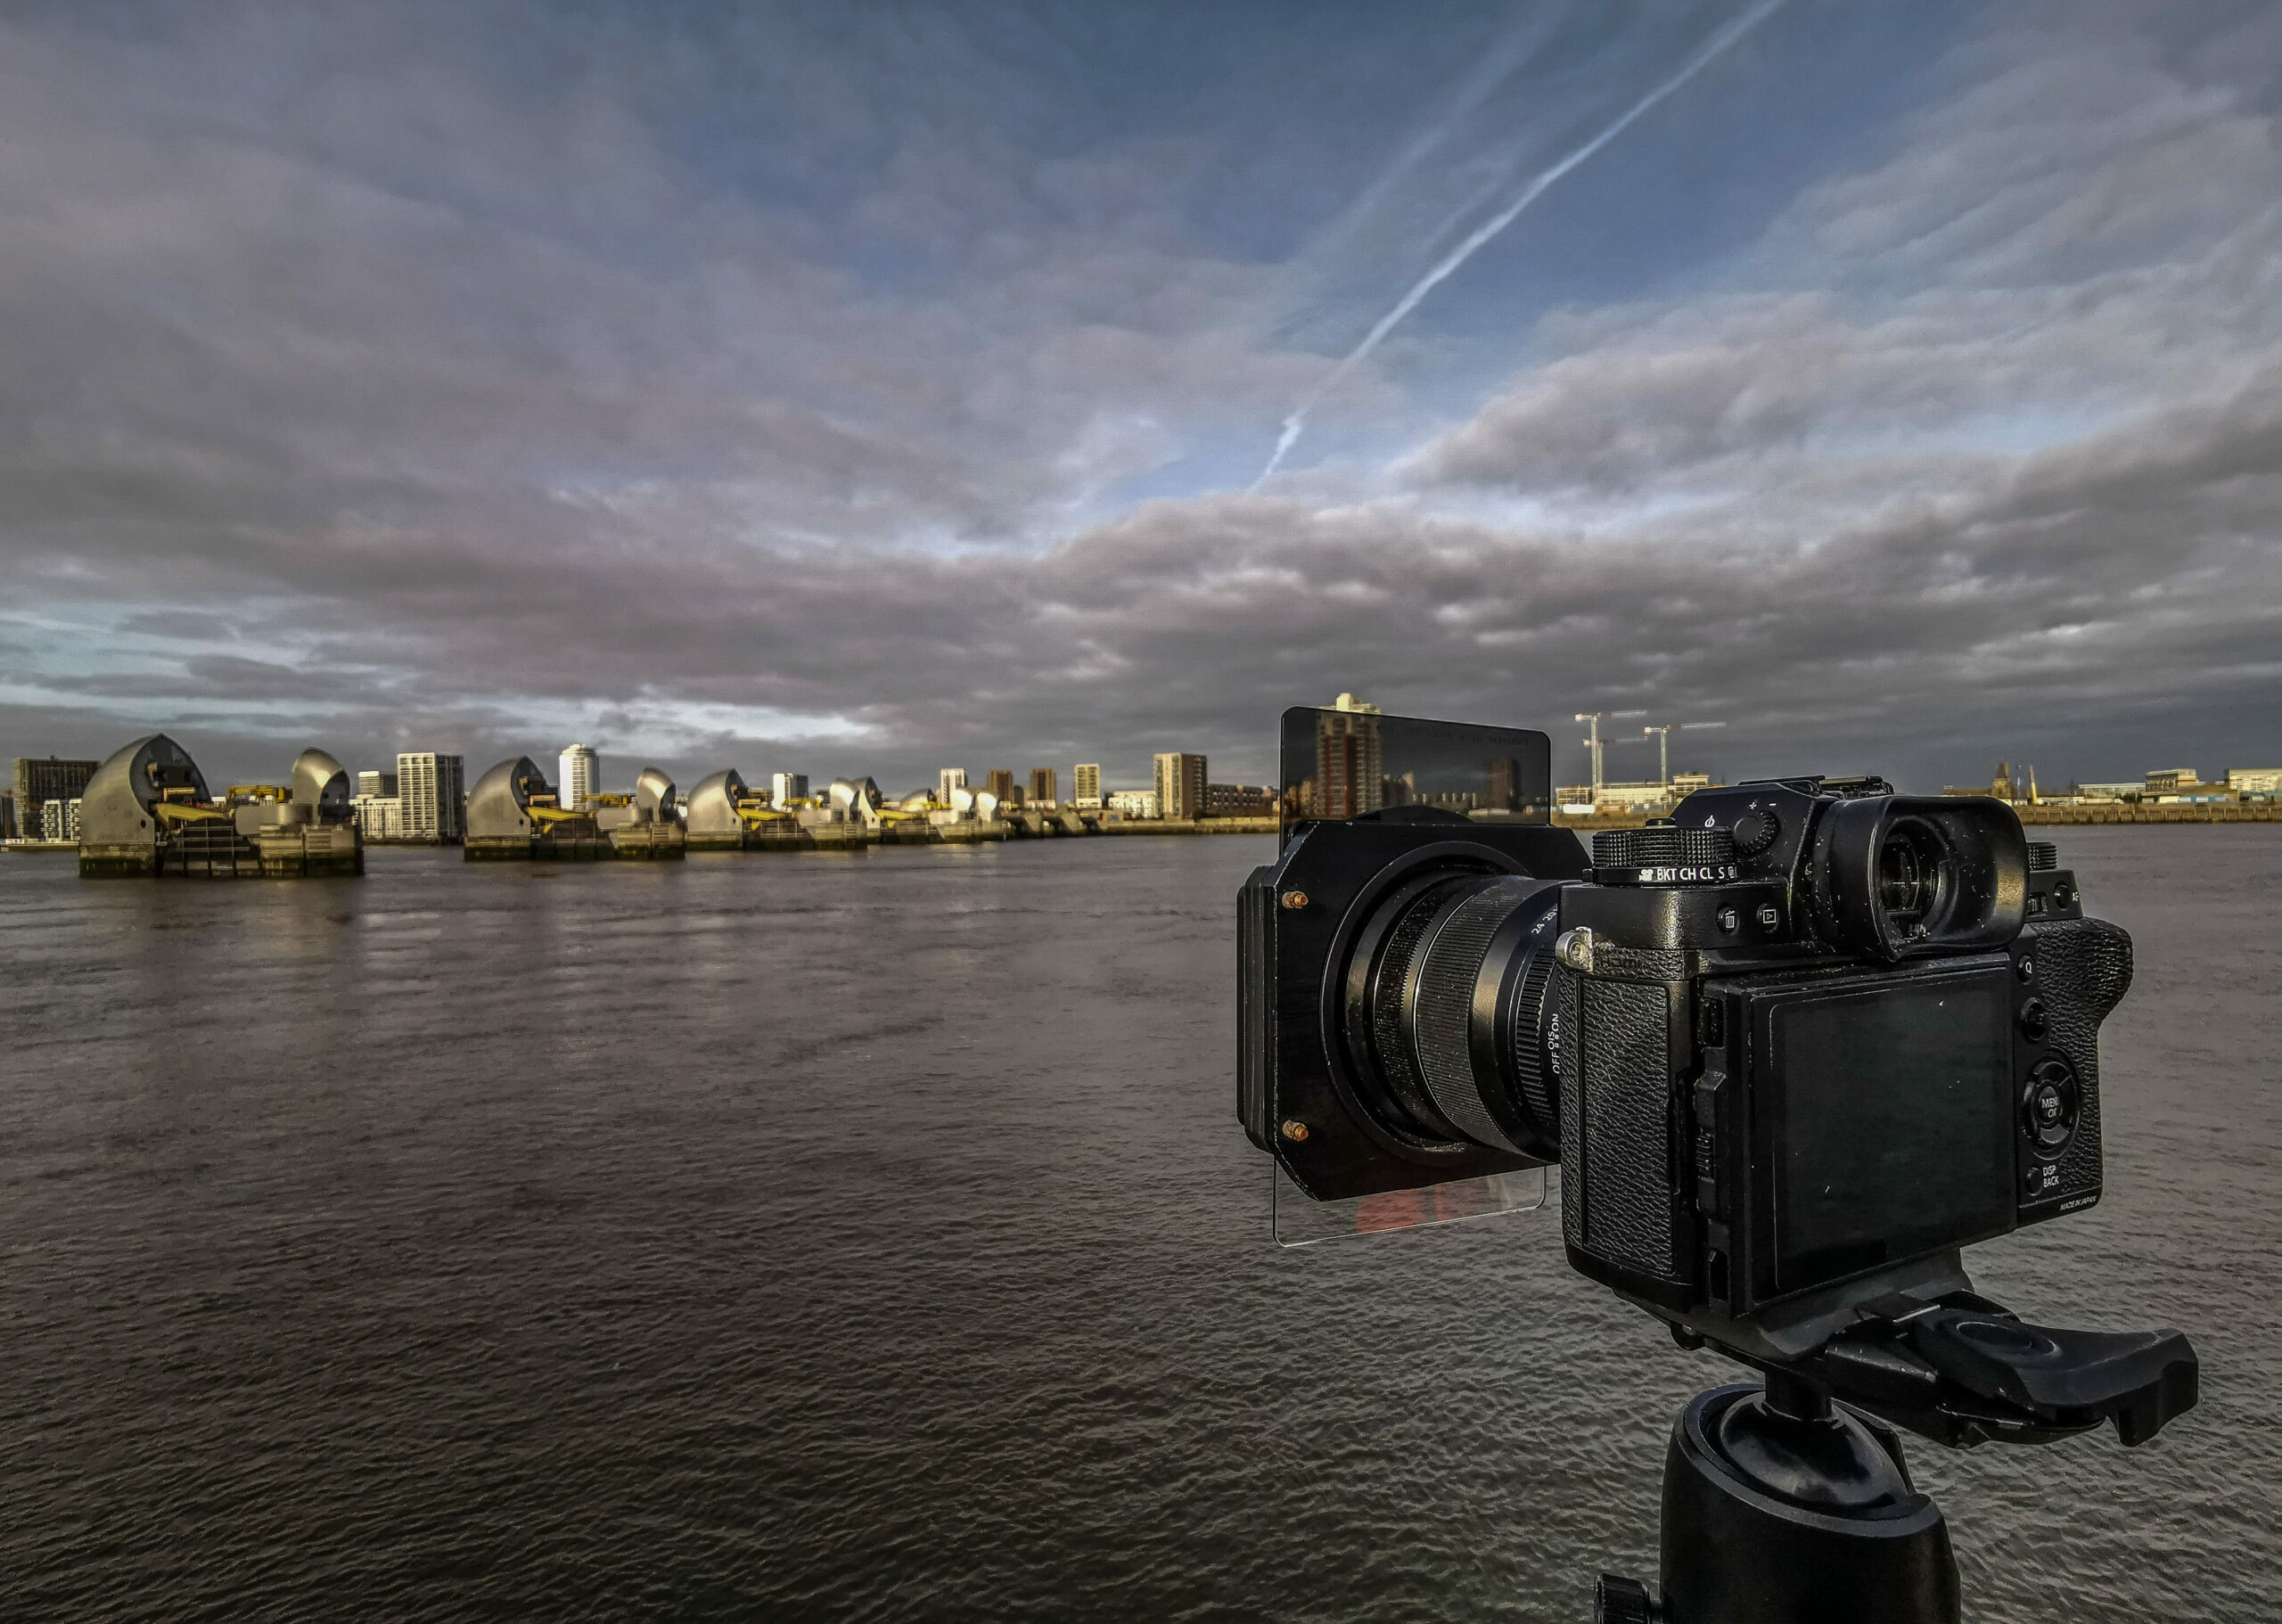
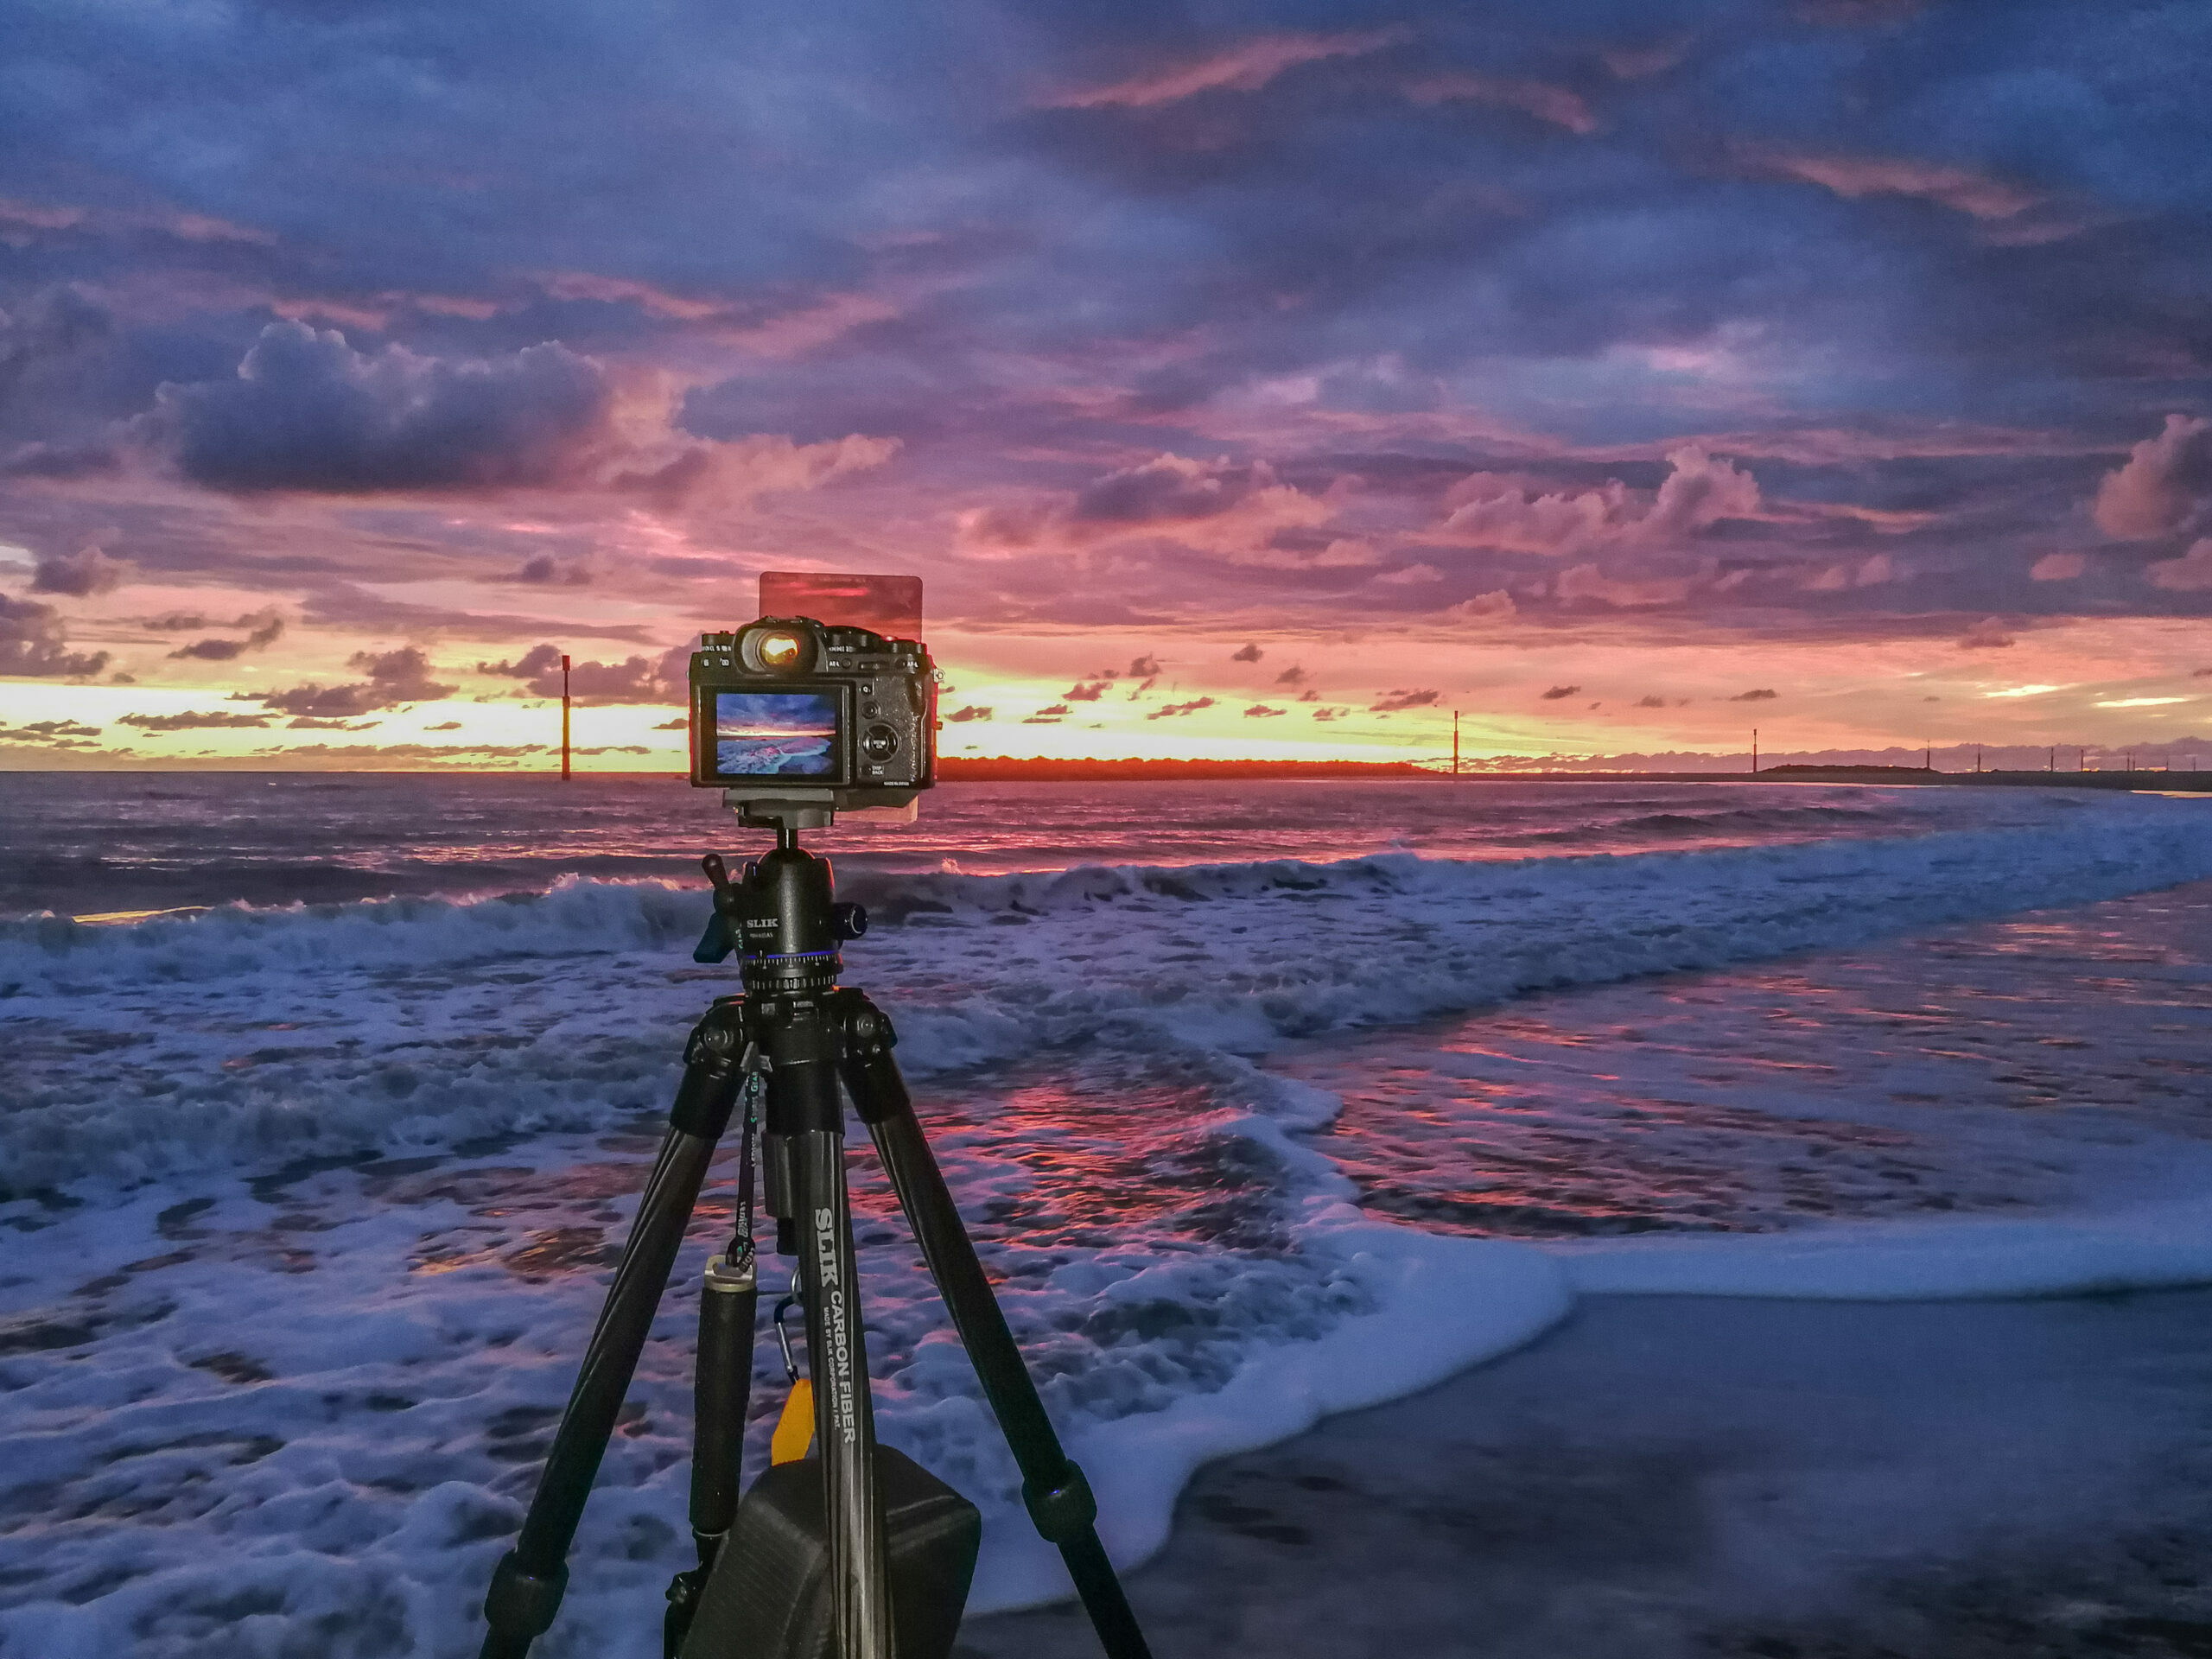
The other big things about the shot are the shadow areas in the top of the frame in the clouds and the central band of the shot have so much detail in them. It appears really rich in the parts I made sure to preserve with getting the exposure right and placing the grad in the frame at the correct spot. Not a lot of contrast has been added to this image at all by the paper and it’s how I saw it in the profile preview in Photoshop. I thought considering it was glossy, the shine would distract away from the detail, but in my opinion, it has really done the opposite and added to the image and given it an extra depth you did not get from it on the screen or the Oyster in previous prints.
Print 2
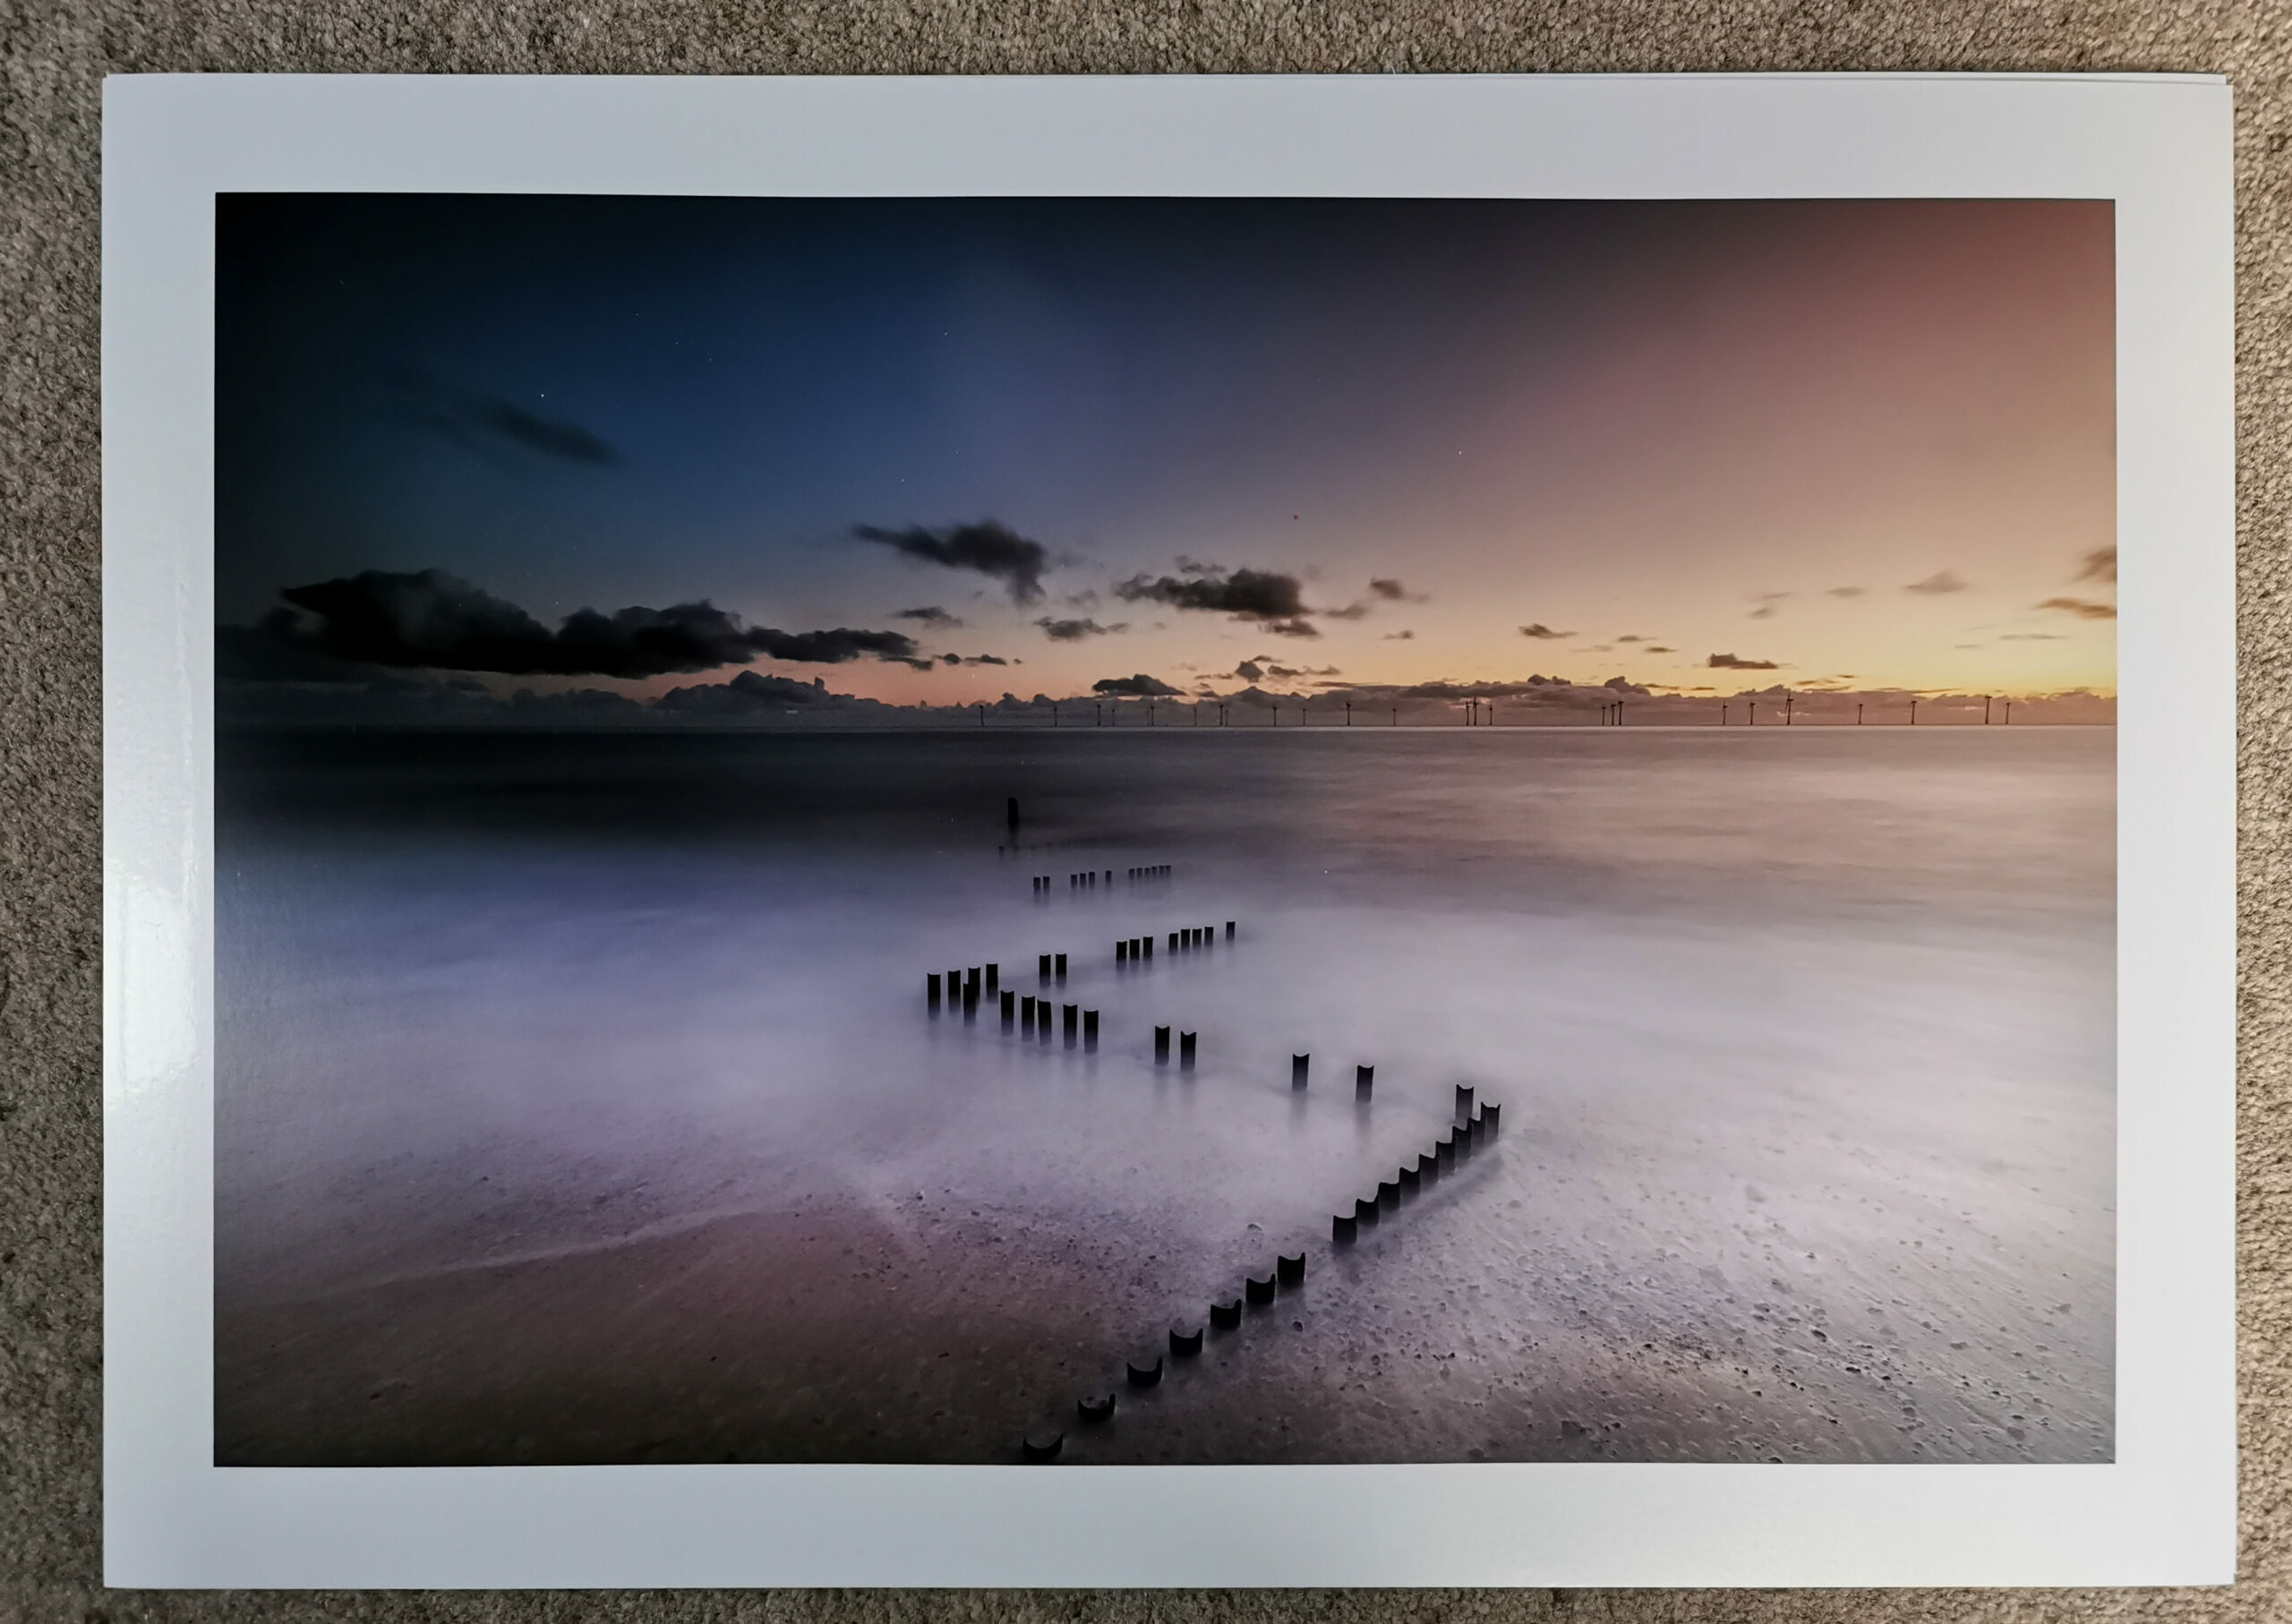
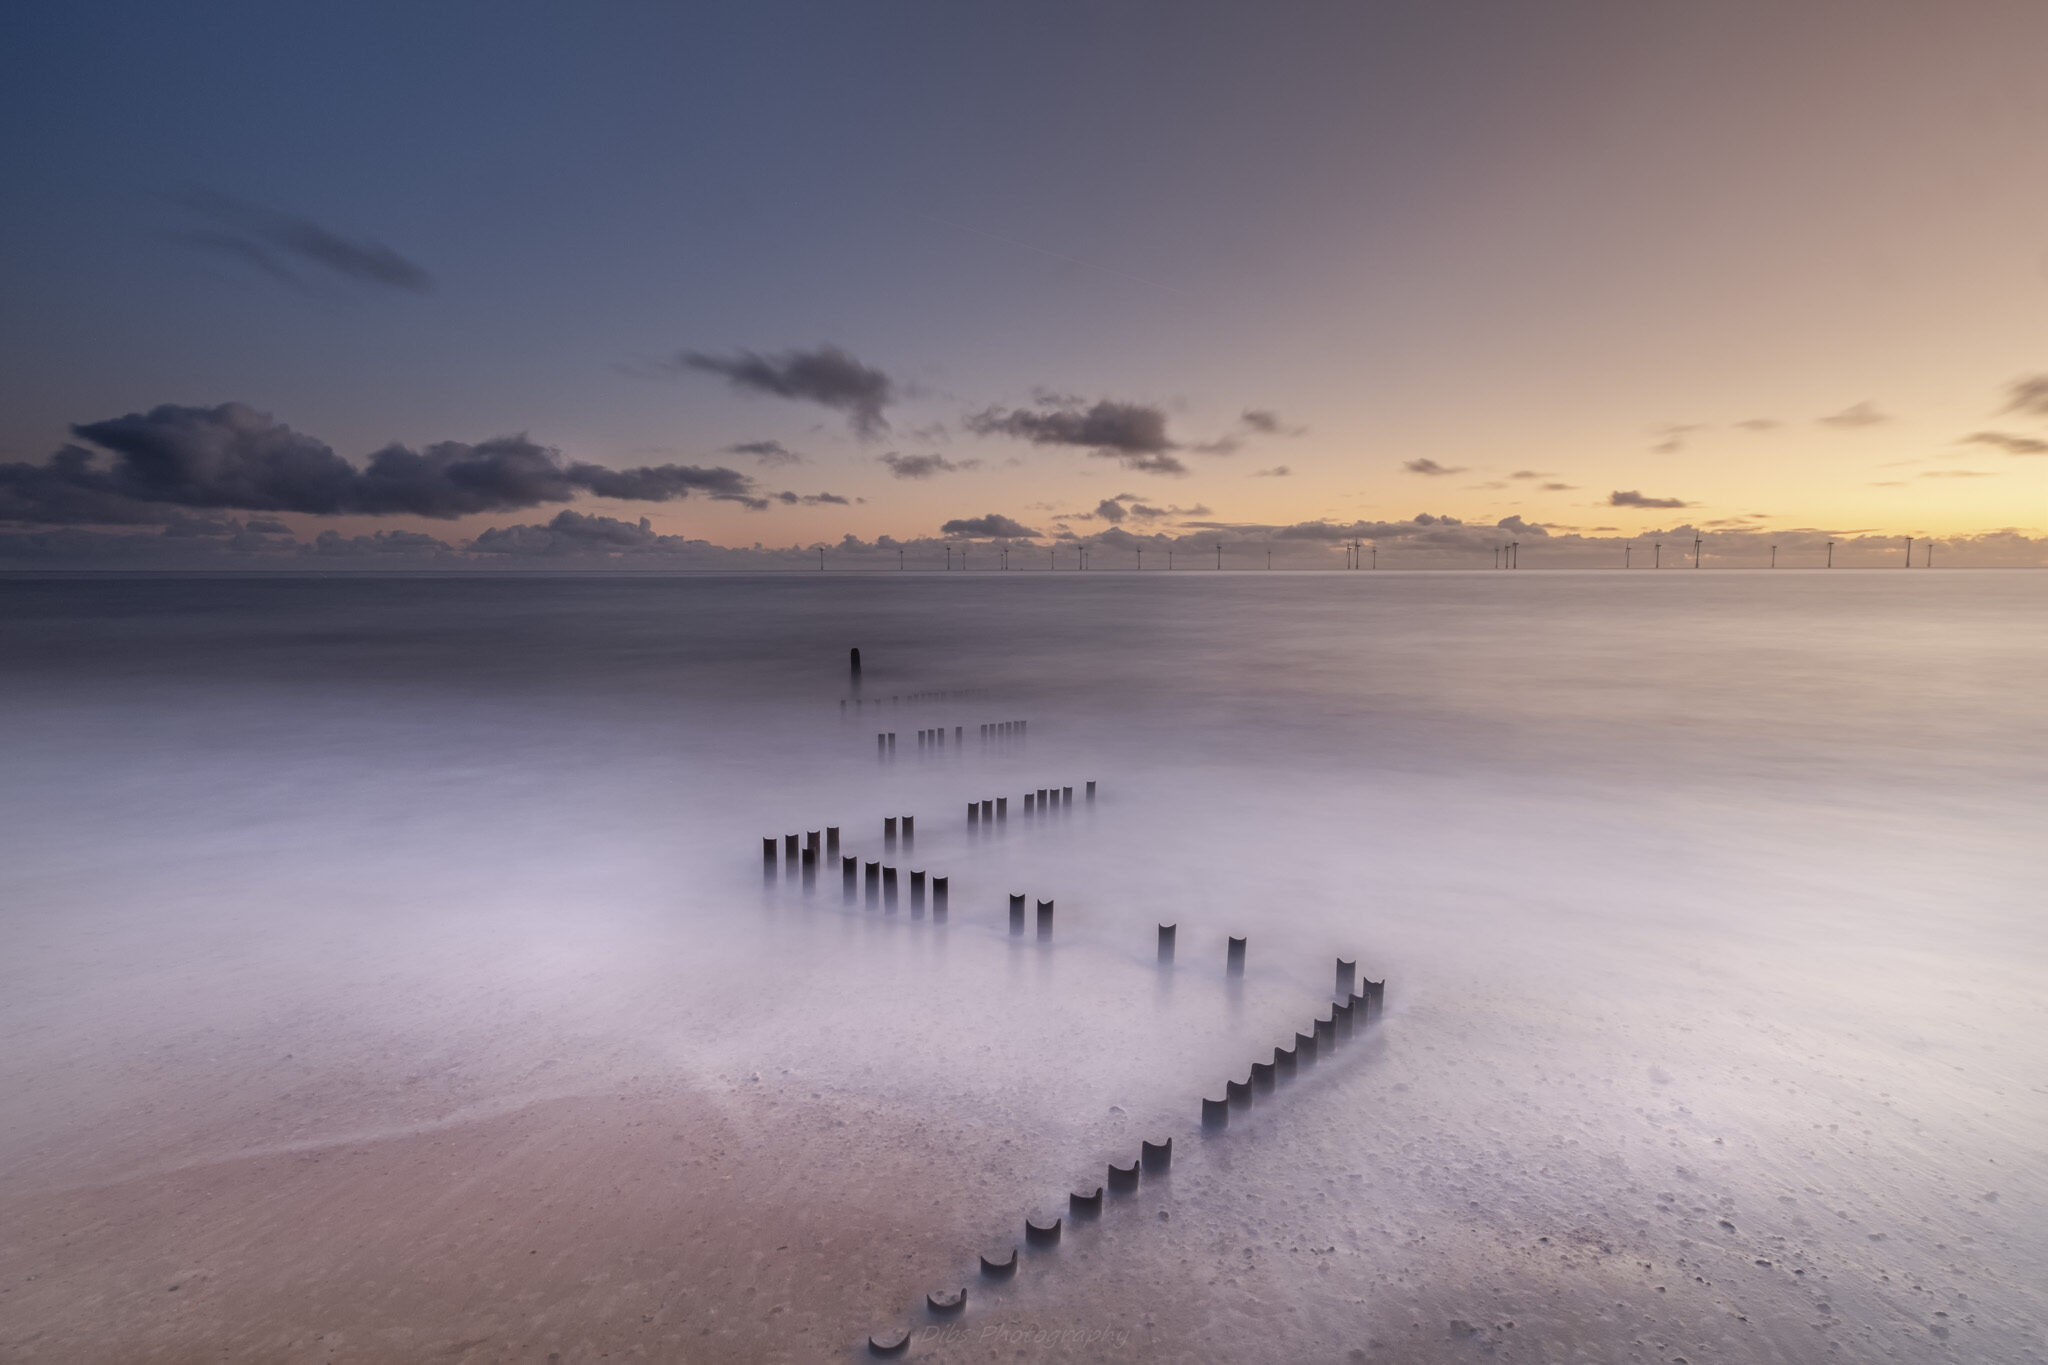
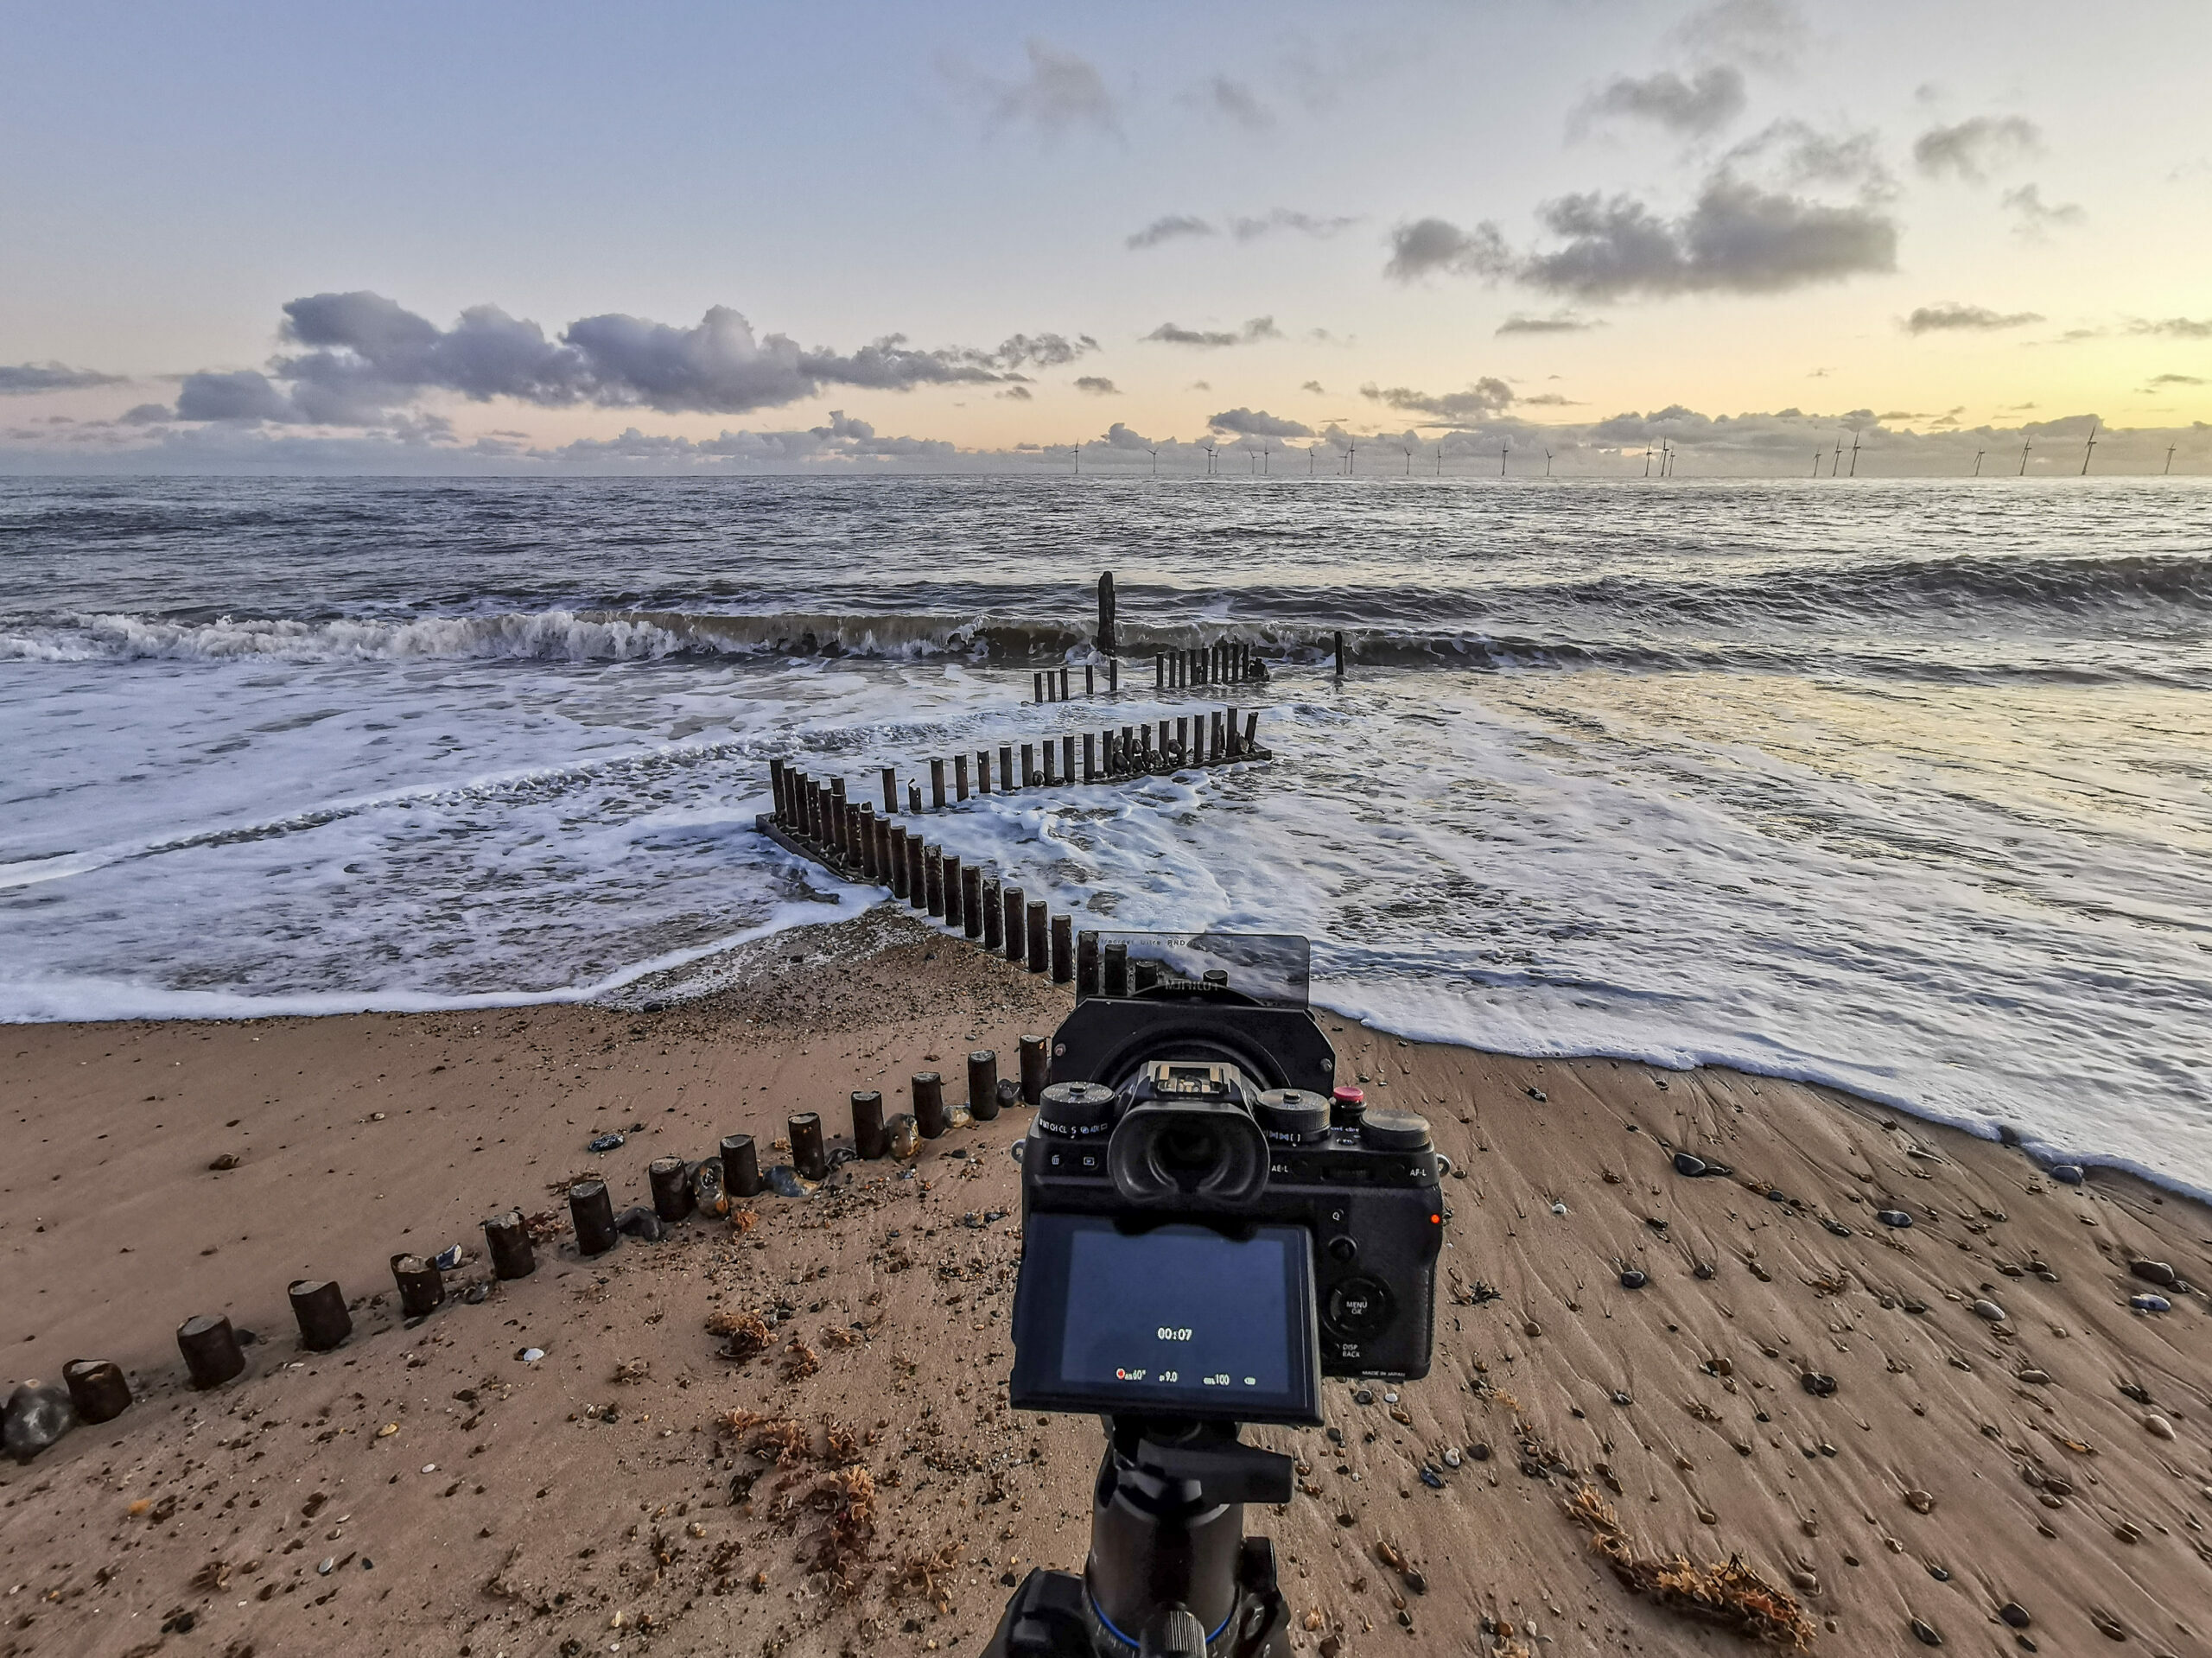
Next up in the print run was the Caister On Sea sunrise shot, again I have printed this on many different papers, some I have liked some I have disliked.
On a fine art paper it came out really nice, but on the Oyster, it appeared a little flat and boring so I have tended to avoid that for clients. It is a flat image, there is just the zigzag of the sea defence leading through the image and a transition from dark to light sky to catch the eye. To me that is the appeal to printing this image and seeing how it performs in comparison to the Oyster 271.
What I had hoped for was the pebbles in the foreground with the water over them to be given a tiny lift from within the image due to the metallic feel to the paper, but instead, I feel the image has been flattened down a tiny bit and is perhaps lacking a bit of contrast. This is not an issue though, I think by applying just a marginal local contrast adjustment to that area before hitting the print button again then this would be another image that proudly hangs on a wall.
Focusing on the big positive from this shot that I hoped to see, the colour in the top half where the blues of dawn are meeting the golds of the sunrise as captured in-camera and seen on screen, they are presented so well in its definition on the paper. It is again sharp and detail-rich, and I hope you understand what I mean but it feels alive with the silky/gloss finish in the paper.
In previous prints of this image with the fine art paper where I gained the texture in the foreground, it did lose a tad of the blend the colours in the sky when you looked really closely. I think the roughness in the texture did not handle the flat sky too well. However this image on the Titanium Gloss paper has again been preserved very well indeed and the sky looks how I remembered it on this cold frosty morning.
So from this paper I would say just be aware of some of the contrast, in preview on the screen when I looked back it does look a tad flat compared to when the preview was removed, so it is my oversight and again a gentle reminder to use the profiles and make sure the screen is calibrated and trust what you are seeing on the screen.
Print 3
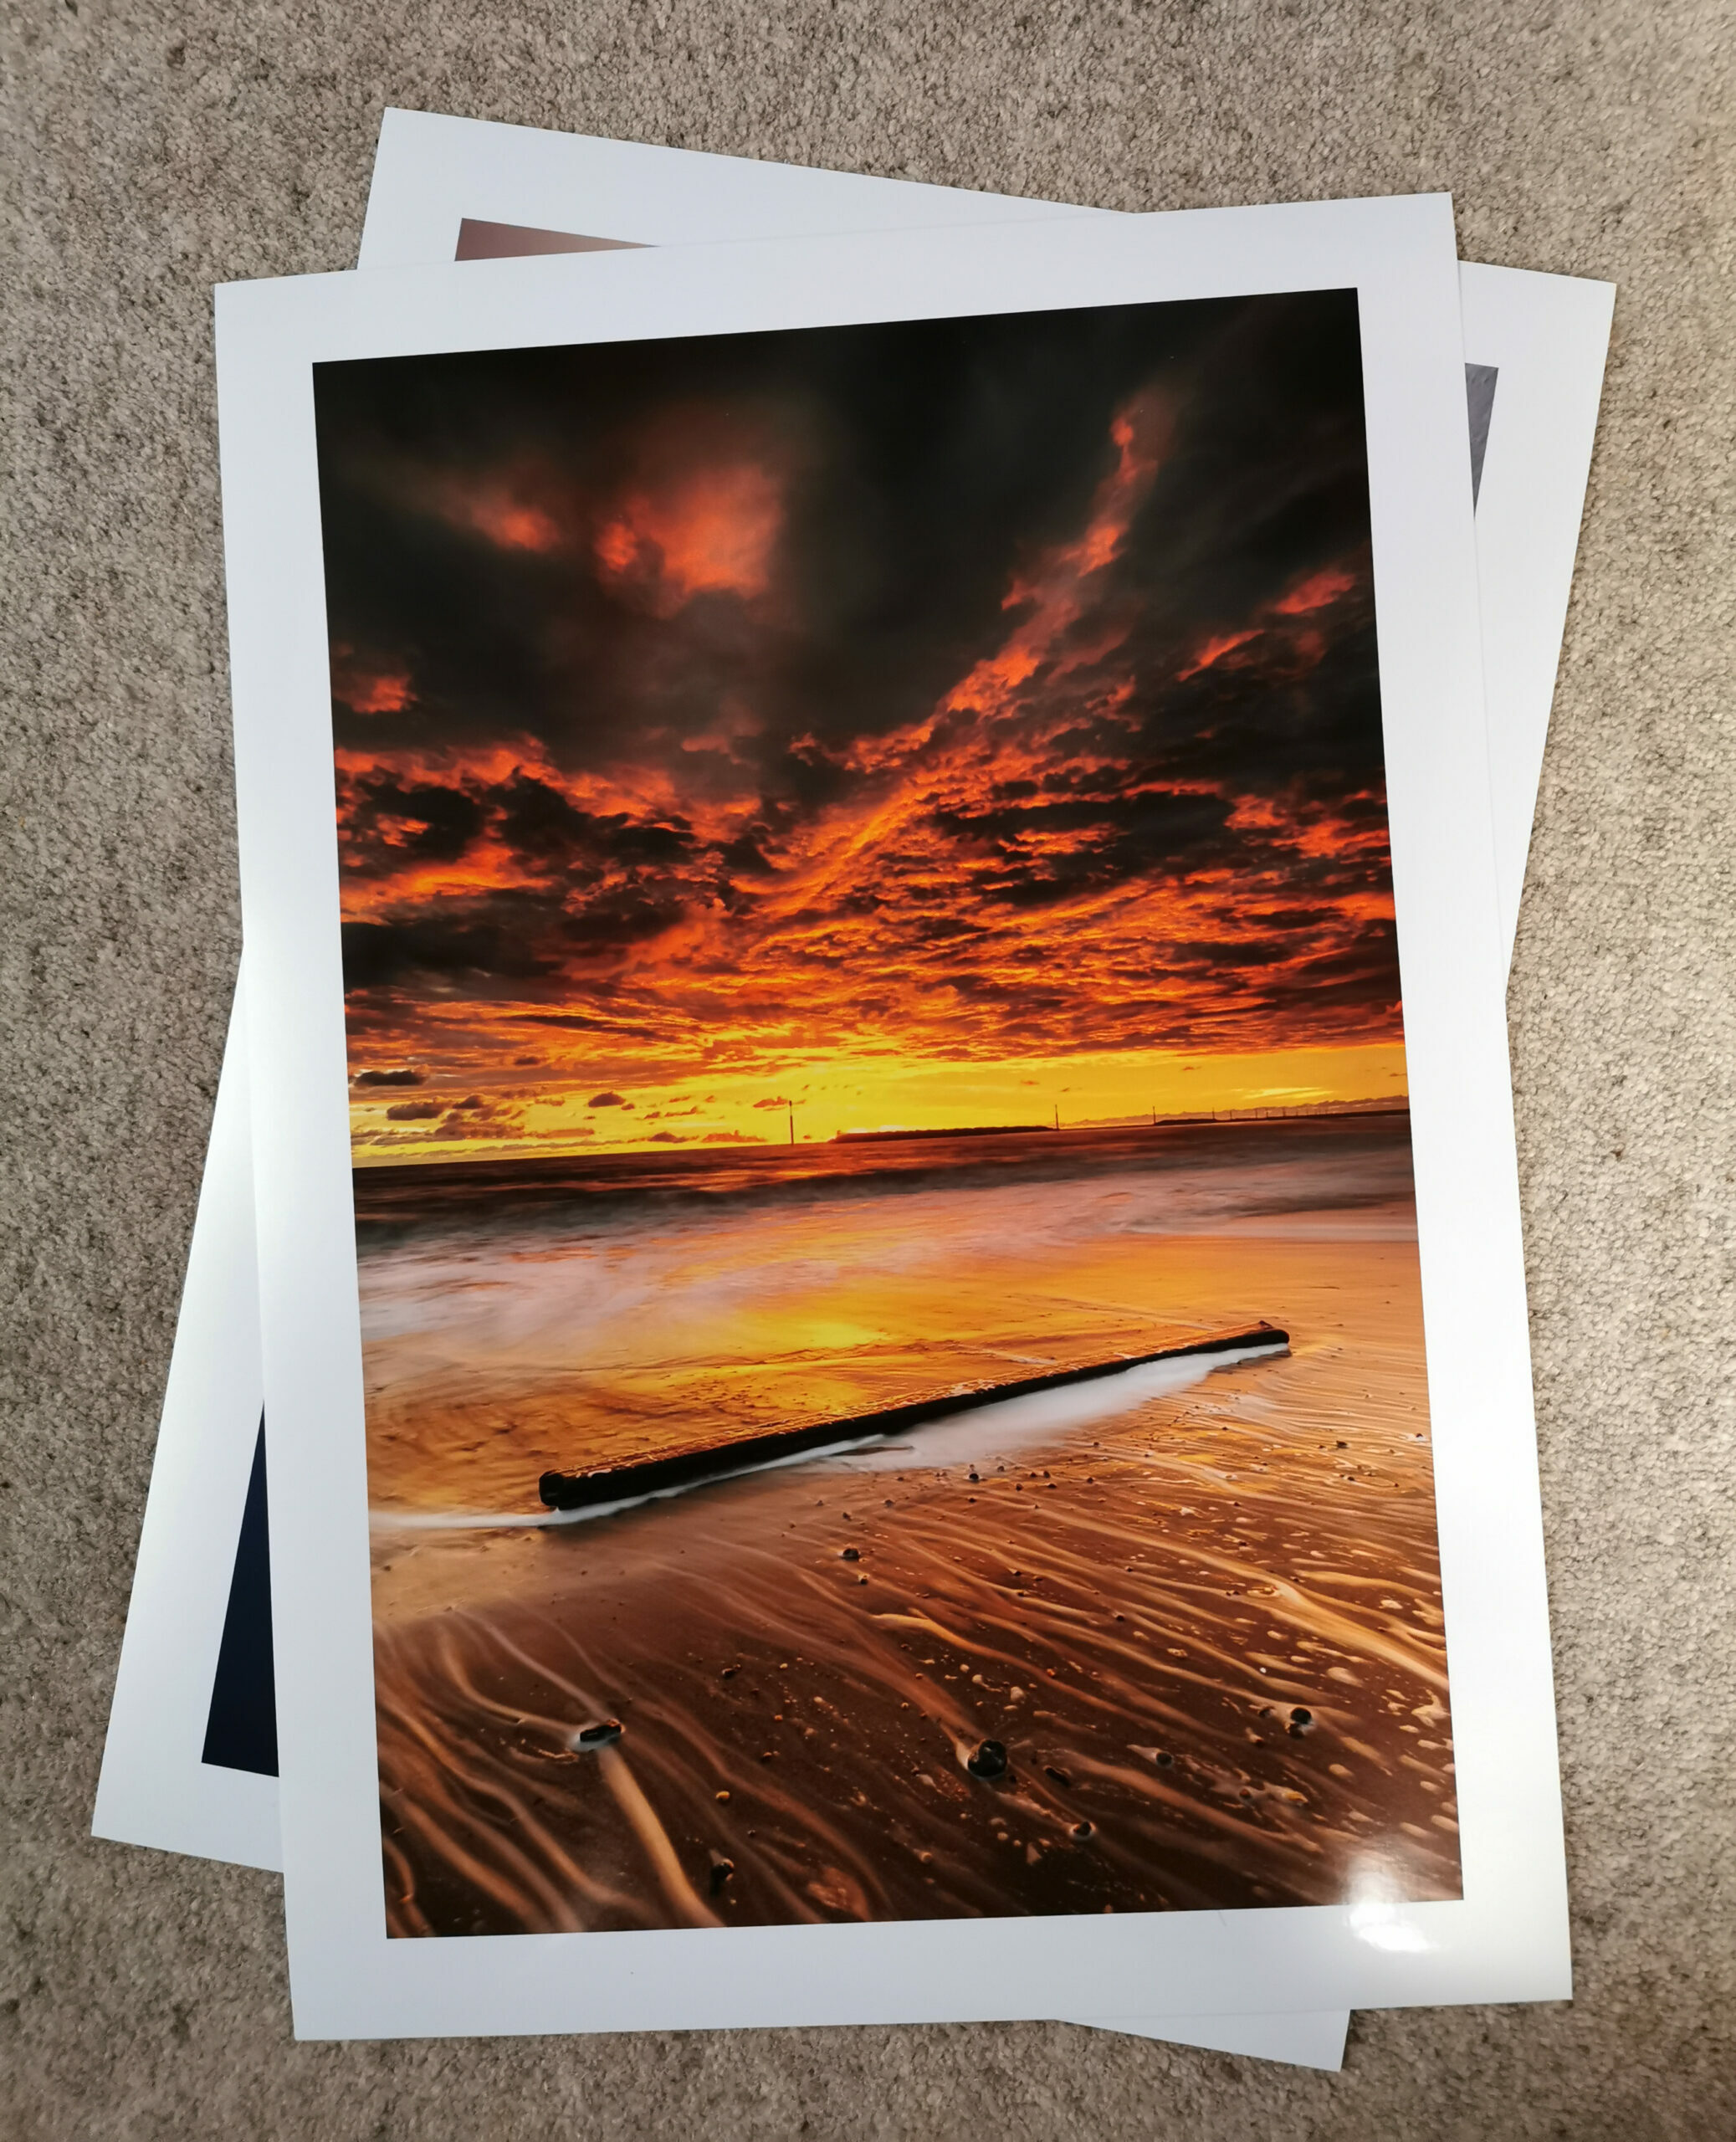
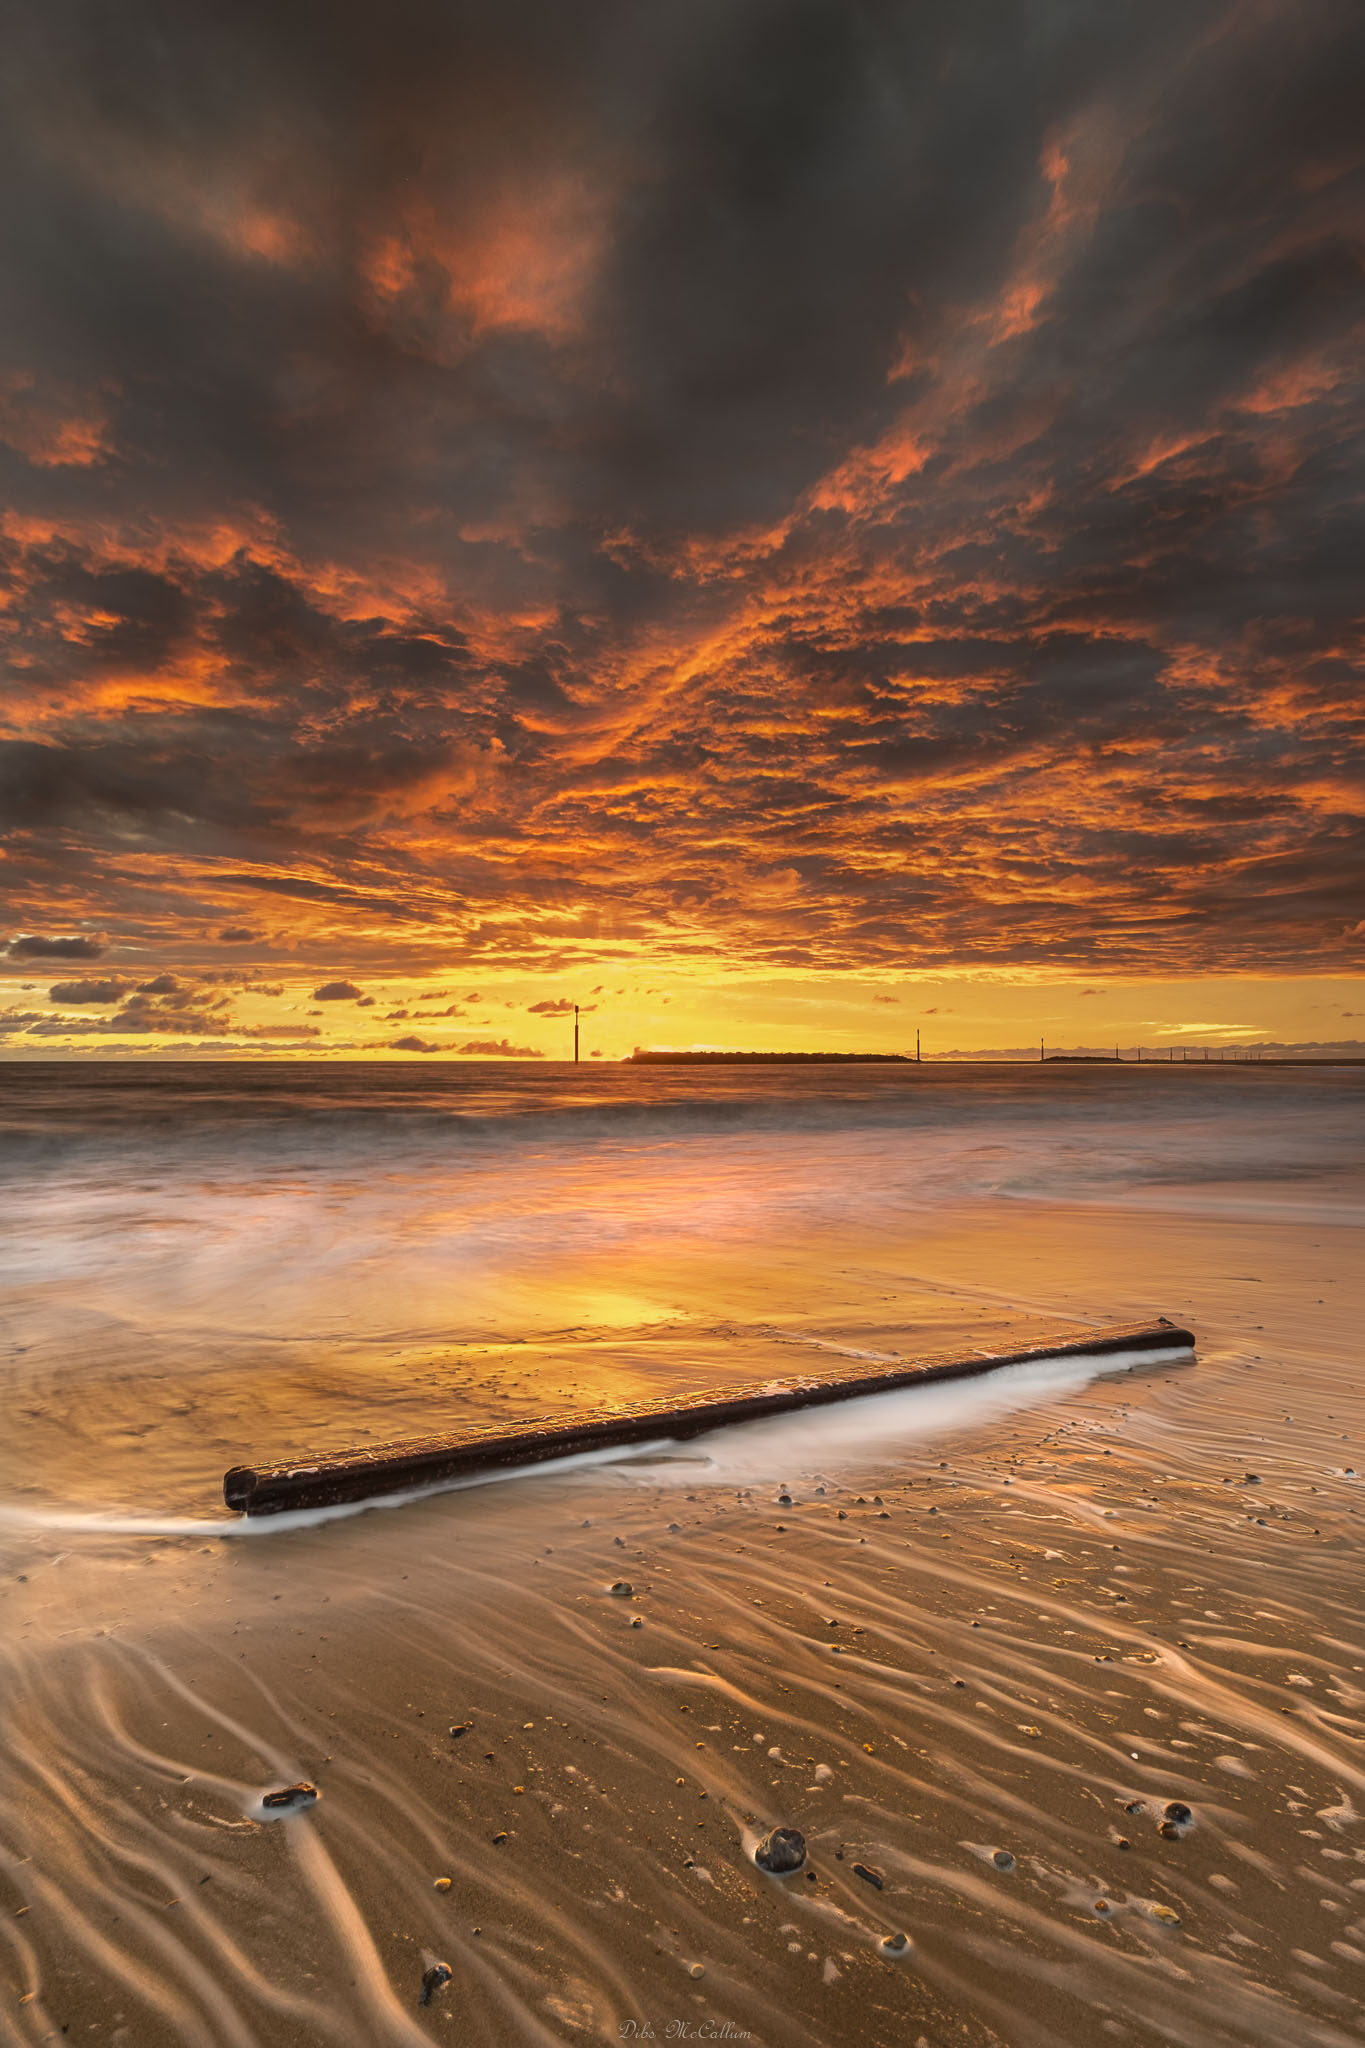
Next up on the printing list was this shot from October 2019 on Sea Palling beach. This was one of the best sunrises I have ever seen, it stretched the whole east coast of the UK and has been sold a fair few times, so I have had plenty of time to print it on different paper stocks.
This edited image, when stuck in Photoshop and previewed, was good to go as it was, so I hit the print button and off we went.
This is what this paper is designed for – bit by bit as it came into view on the print tray I was getting more and more excited, the image had this majestic looking sheen to it and the details in the clouds looked 3D, something I had never experienced from printing before. I just wanted to run my hand over the clouds and feel them.
Once the whole image was out I was just shocked at how much detail there was, the colour that was preserved in everything insane, it took me back to standing on the beach that fabulous morning.
When I first posted it on social media last year saying I can’t wait to print this, somebody commented saying ‘you will never manage to get what you see on the screen onto print’… Well here you go, it looks like it has to me.
Final thoughts on the paper
When I first received the paper, the 1st thoughts were ‘gloss, I don’t print on gloss’. But these few prints have really opened up a whole new dimension into my printing world and I am so glad I was considered to try out this paper, its has further opened up one of the final stages in the creative process and one that is very overlooked way too much in my opinion.
As a result of this, I am now looking for other previous work to print and also making plans once the UK lockdown is over to start shooting more subjects in my style so I can experiment with this paper and many others too.
To quote the team at PermaJet from their findings since many of us have tested it out…
Consider images that contain water, metal or reflective subjects – whether it be cars, jewellery or architecture, the metallic base and gloss surface will really help these shine!
That is so true about this amazing paper that I am now very happy to say will be one I will adding to my website to offer clients the choice to have prints finished on.


