
I’m going to try to give some insight into how to produce images similar to my
“Photographer in Lockdown”. The toughest part for me is getting the original concept or message, as you can’t magic up a concept in your mind on demand. Many creative compositions are excellent in technical execution but they fall down on meaning.
This one came to me because I felt caged by lockdown and I then needed to work out how I was going to get that feeling over. It’s best to have a plan, and some people sketch a final image and then set about composing it. I tend to start with the basics and then modify the plan as I go along. This is partly because I don’t have a huge library of component images to use in compositions and although I can go and buy images to use, this would preclude me from entering the final results in competitions. Also, ideas change as you go along so modified plans often work better in the end.
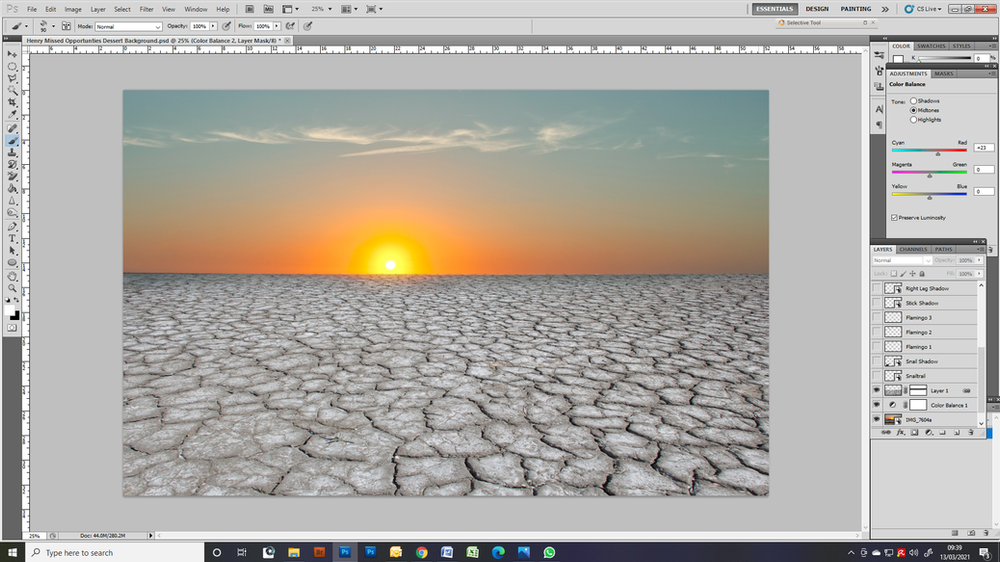
So the barren landscape with me looking lost in it was part of the initial plan. I decided to use some dried mud from the Camargue that I took several years ago, partly because I was in the Camargue at that time last year. That also partly explains the flamingos as well. The sunset was from the beach at Hossegor which is another place I would have preferred to be.
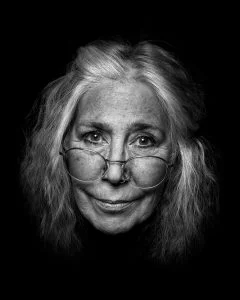
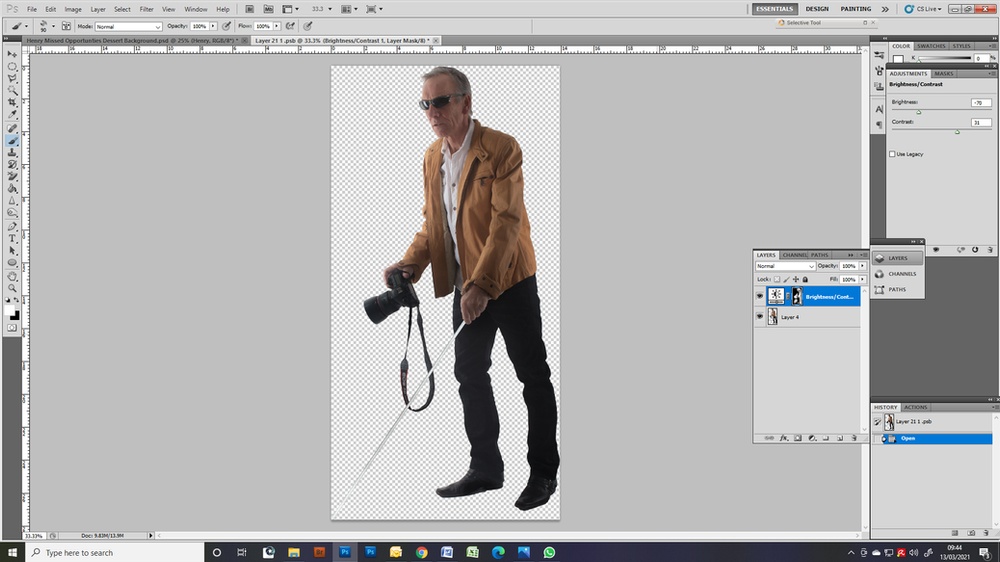
Having decided on the background you can now start working on the components. One of the most important things in this type of composition is to get the light right, so thinking about the position of the sun I went up to my studio and tried to match the lighting reasonably well. Photographing against a light background made it easier to cut me out and also meant any errors would be less noticeable against the light coloured mud and bright sky. I wanted to express the difficulty of finding inspiration during lockdown and my thoughts were that a blind photographer can’t see the lovely sunset, so on with the sunglasses and start looking for a white stick. Remember, everything is possible in photo editing until you prove it isn’t, so in this case I used a black iron rod and then simply used the negative to make it white.
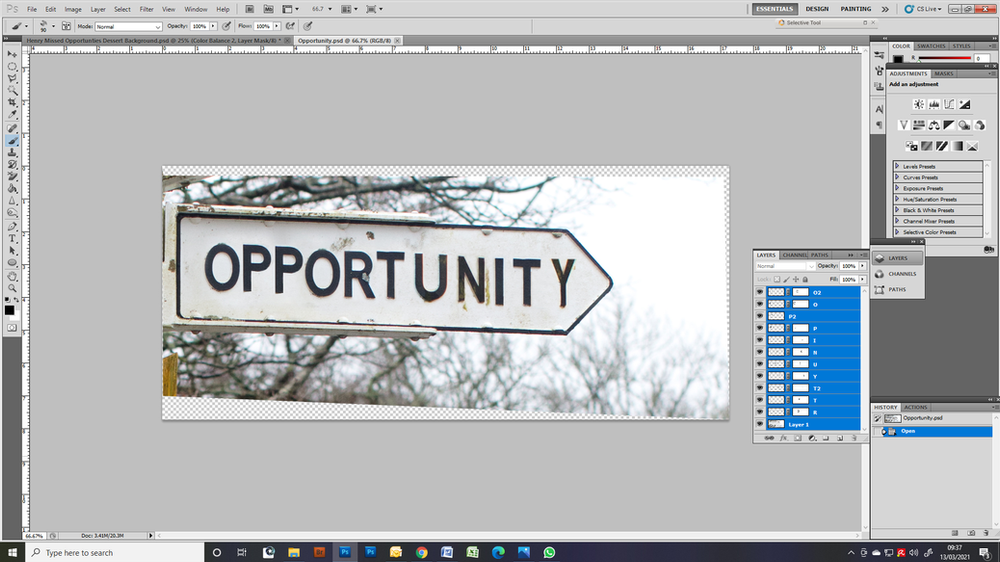
Linked to this I wanted to express missed opportunities, which could be business or simply missing the winter owl photography season, or a big storm hitting the south coast, or even missing your Photography Club competitions. So my thoughts were a road sign showing me going in the wrong direction. I didn’t have a photo of a road sign and I needed to get one of those the next time the opportunity arose. Luckily the one that presented itself also had ‘NO THROUGH ROAD’ on it which added to the idea.
The crazy thing about the simple signpost was that I almost had to completely rebuild it to get the lettering right. A simple use of font wasn’t going to do it, so I ended up with somewhere around 20 layers of individual letters cut from different parts of the sign and pasted into the right order. They had to be skewed to fit and in some cases letters were constructed from parts of other letters. I even had to try to match the algae growing on the finger boards. When you have to do something as complicated as this it’s better to prepare the sign as a completely separate image because it was something like 20-25 layers in itself.
The next concept I wanted was that of time really dragging. I’m sure we have all felt time dragging during lockdown, and I originally considered a Dali style melting clock but that has been used quite a lot before. I couldn’t get to grips with depicting dragging but instead went for time moving really slowly so a snail was the obvious solution.
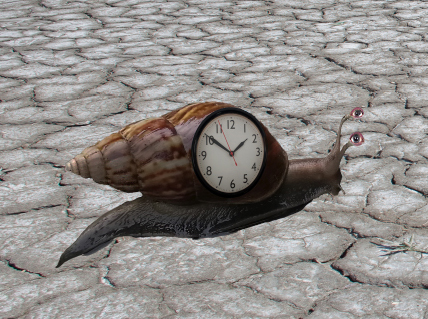
First I got on a chair and photographed the clock in the kitchen. I don’t have many pictures of snails but I had one on my phone of a huge snail I found in Bali during a rainstorm. The problem was that it was too square on so I used the “Transform Function” to skew the snail and the “Liquefy Filter” to change the shape of the tail end. All of this needs to be done with view to how it will sit in the final image. The perspective needs to be believable and it may take several attempts to get it right. Just to make it a bit more weird I elongated and enlarged the eye stalks and put the eyes of Emma (a model friend) onto the end so the snail (and hence time itself) appeared to be watching me.
You need to be careful and refrain from putting too much in an image, but the top left hand corner needed something. People often use birds and I decided to keep to the Camargue theme because that is where I was 12 months before. Everything in the image should have a meaning even if the meaning is only in the mind of the author. So I chose 3 different flying flamingo photos – cutting them out, placing, sizing and transforming them so they made a simple shape.

When you are sure you have everything in exactly the right place you need to make the lighting consistent and believable. I always make my layers smart objects because you can work on them individually and then undo the changes or alter them again if it isn’t right. So working on each component as a smart layer you need to add a “Brightness/Contrast” adjustment layer and dull the smart object right down. Then if you “Invert the Mask” you go back to the original brightness, but you can bring out the shading where you need it by painting the mask with a white brush. Use something like 5-15% on your brush so you have to go over it several times. This way there are no hard edges.
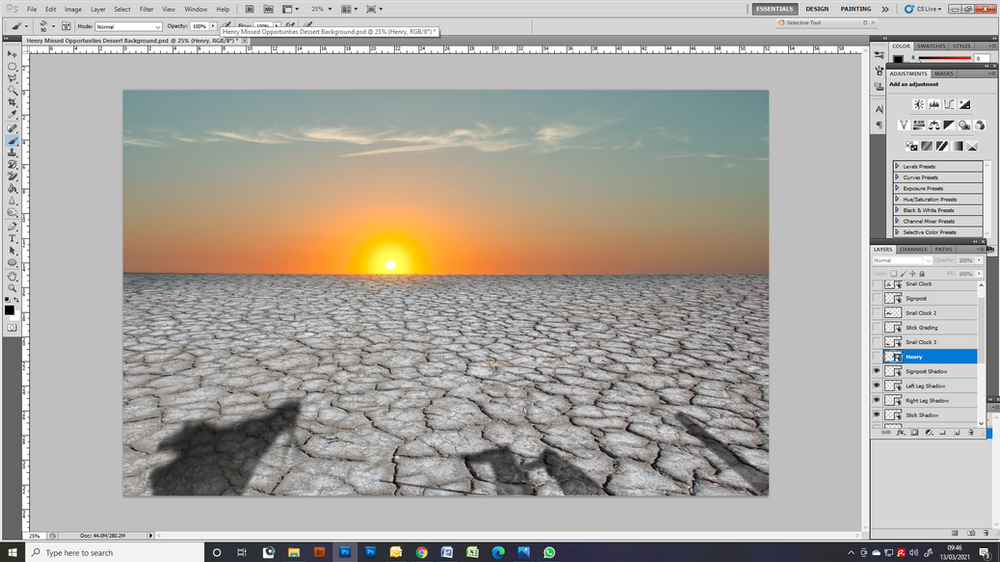
This is perfect for the image of me and the snail etc. but what about the shadows on the ground? For those shadows I used the “Polygon Lasso Tool” to cut out a shape in the dried mud that I thought would be cast as a shadow on the ground. Then, feather this selection using “Refine Edge”. Cut and then paste in the same location. Convert to a smart object and then edit the smart object by adding a “Brightness/Contrast” adjustment layer. This allows you to darken that specific area and then go back and adjust it so all your shadows look about right.

So there we have it. The tips I have that come from this are:
- Over time collect a library of images that could be used as backgrounds or components. Photograph each component from varying angles because you don’t know where it might be used in the future.
- When you get an idea, write it down for later reference. Work on the assumption that all is possible in Photo Editing until proven otherwise.
- Once you have your idea, plan the basic setting and shape of your image and start with your backgrounds and light sources.
- Rename all the layers so you know which is which because when you get up to 20 or 30 it can become complicated. Convert your layers to smart objects.
- Put your main components in place keeping perspective consistent and if possible lighting consistent. If you are shooting with a model let them know exactly the image you are aiming to make and exactly the position you want them to take and keep your studio lighting consistent with the final image. Choose a background that will be easy to cut out or easy to merge with the background of your image.
- Put the lesser components in taking care that they add to the message and not detract. Use the “Transform” tool to get perspective correct.
- If the lesser component itself is complicated (e.g. the snail clock) prepare this as a completely separate image ready to include as one piece.
- When all components are in place think about the light and use “Brightness/Contrast” adjustment layers on your smart objects to add shadow and make the image believable. This may take a number of attempts and you may have to backtrack.
- Think about adding shadows to the ground using the selecting and feathering technique.
- Finally, it’s okay to plagiarise other ideas especially when you are learning. Great chefs learn by following recipes. Then they introduce their own twists before finally inventing complete dishes from scratch. You will always introduce your own twist but be careful of composing to a formula that might be expected by a camera society or a judge. That’s no fun at all. In the words of the great David Bowie “I think it’s terribly dangerous for an artist to fulfill other people’s expectations.”