We all want great-looking prints, but there’s one small thing that often gets in the way of that – a lack of proper Output Sharpening. The fact is that images that are to be printed require a different level of sharpening compared to those that are only to be viewed on screen. But how much Output Sharpening should you apply, when should you do it, and how?
Why do you need Output Sharpening?
Output Sharpening is required because of the fundamental differences between how digital displays and print media render images. Whether it’s on your TV, your computer monitor, or the screen on your phone, the pixels that make up a digital image have a precisely defined edge. There is no spread or overlap to them, so images can look crisp by default. What’s more, because of the way they emit light, screens produce more vivid results than on paper. And we tend to view screens closer than prints, too.
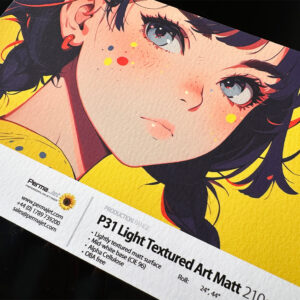
On the other hand, prints are created from dots of ink, and these can spread on contact with paper, a phenomenon called ‘dot gain.’ Your choice of inkjet paper affects how much dot gain occurs, with more absorbent papers showing greater softness. The paper type also defines how reflective its surface is, with less reflection meaning images appear less sharp. The size of the print, its resolution in dots-per-inch, and the viewing distance also affect how sharp the image appears to the viewer.
When you accept the reality that when viewing an identical image on screen or in print, they will look less sharp in the print, the need for greater sharpening in the latter becomes obvious.
How does Output Sharpening work?
Output Sharpening increases the perceived sharpness of an image so that it looks its best on specific mediums – in this particular case, inkjet paper. The amount of sharpening required depends on the size of print, the type of paper, and the viewing distance intended for it.
For example, the amount of sharpening required for a large print is more than that needed on a small one. This is because of the way that a perception of sharpness is increased in software. Therein, contrast is increased along edges in the image which make it seem clearer. The bigger the image, the wider and more pronounced these edges will need to be.
And while glossy or satin papers might need only moderate sharpening due to their reflectiveness and ability to preserve detail, matte and fine-art papers can require stronger sharpening due to their lower reflectiveness and higher absorption rates. At this point, it’s important to understand that Output Sharpening should only be carried out at the very final stage of your editing process. In fact, Output Sharpening should be kept entirely separate from regular or ‘capture sharpening,’ where for instance you might make a creative decision to increase the sharpness of a subject’s eyes, or part of a landscape. This is because the Output Sharpening settings are directly related to factors like the paper size and type.
Output Sharpening with Nik Sharpener
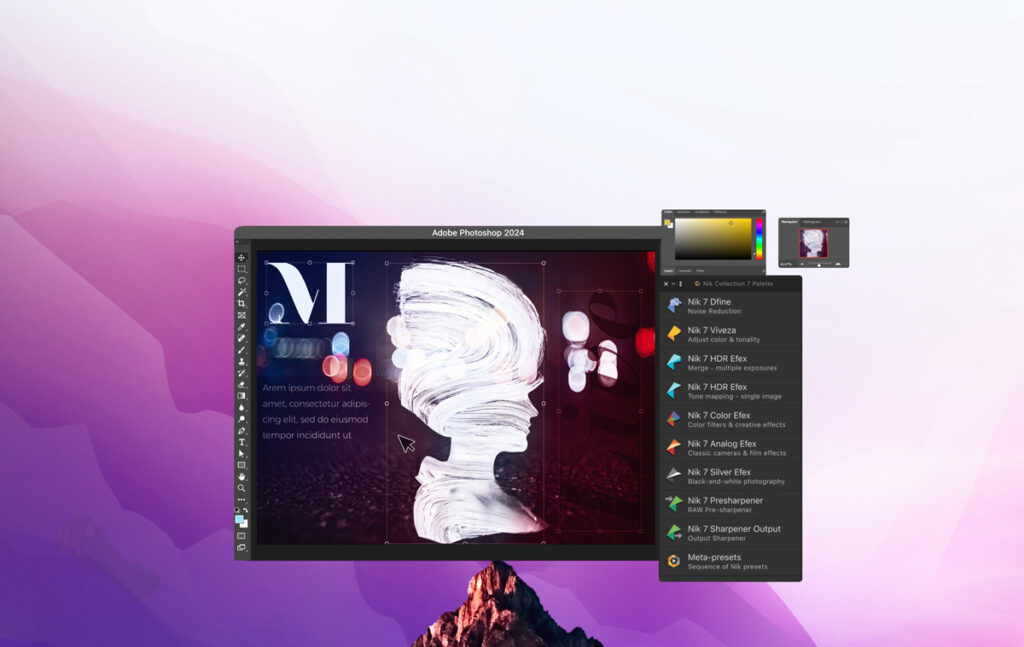
Output Sharpening can be applied manually, but it’s far more efficient to use dedicated software such as Nik Sharpener, part of the Nik Collection by DxO.

Why? Well, if you attempt to do it manually, finding the correct level of Output Sharpening is often a case of trial and error, using lots of paper and ink to find the best settings. And of course, if you change paper type or size, that process has to begin all over again.
And with the difficulty that’s inherent in judging prints, sharpening manually can lead not only to prints that lack the required amount of clarity, but also images that are over-sharpened. If anything, this can look even worse, making photos look unrealistic and ‘crunchy’.
Thankfully, the engineers who made Nik Sharpener have done all the hard work for you, analyzing thousands of prints in order to work out the perfect settings for a huge array of paper sizes and media. It’s automatic and easy, saving you materials, time, and money.
How to apply Output Sharpening in Nik Sharpener
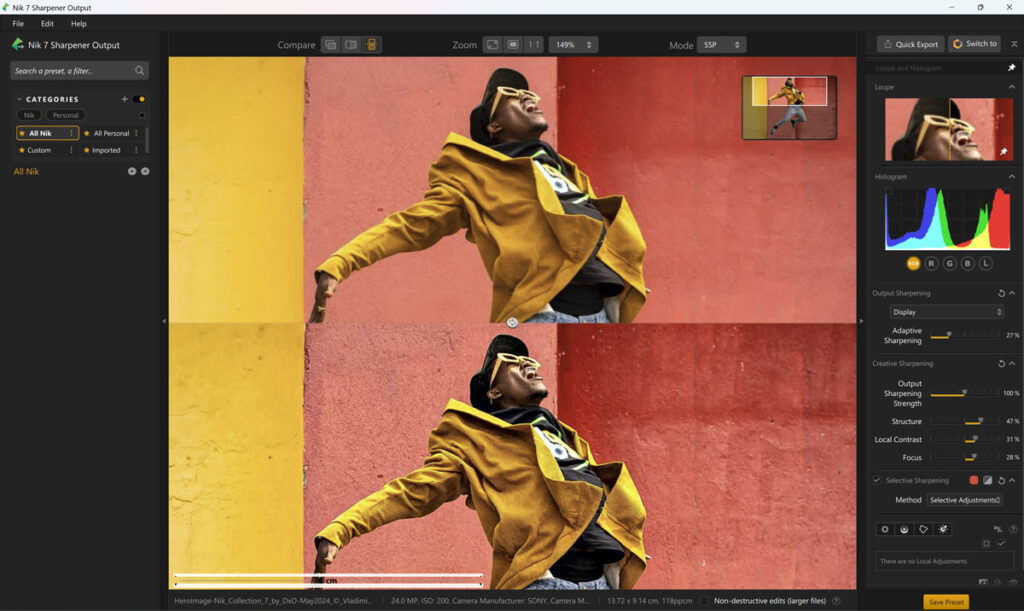
The first step is to make sure you’ve resized your image to match the intended paper size which you can do easily in Photoshop or your choice of image editor. Next simply open the Nik Sharpener Output plugin and find the Output Sharpening heading on the right-hand side.
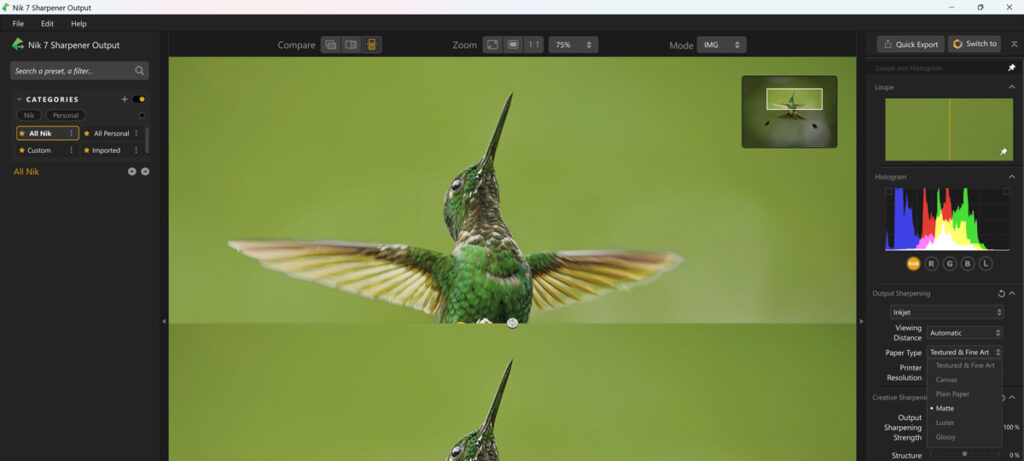
Next, choose the type of media you intend to use. This is set to Display by default, so click on the list and select Inkjet. This will bring up options for Viewing Distance, Paper Type, and Printer Resolution.

Viewing Distance is set to Automatic by default, but five specific distances are provided if you know for certain how the image will be displayed; the farther away the observer is, the less detail they will perceive, so sharpening is increased along with distance. If in doubt, leave this on Auto which is a conservative approach based on the diagonal size of the image.
The Paper Type menu offers several choices including Canvas, Textured & Fine Art, Matte, Plain, Glossy, and Lustre. Once again, the amount of sharpening applied will increase for some papers and be reduced for others, based on texture and absorption.

In the Print Resolution box, select the setting as in the printer driver. The values are expressed in length x width, with a number of presets or the option to input your own.
Once you’ve adapted the Output Sharpening settings to your destination media, move down to the next heading, Creative Sharpening. Here the Output Sharpening Strength slider controls the overall effect. The default value is 100%, and in the unlikely event that you find more or less sharpening is required for your print, you can de-emphasize the effect by moving the slider left or amplify it by moving the slider to the right.
If you decide that more texture is required in the print you can use the Structure slider, while the Local Contrast setting focuses on the micro-contrast of details in the image, allowing you to add or reduce impact if required. Finally, Focus allows you to restore sharpness to elements of the image that are slightly out of focus by moving the slider to the right. By adjusting the slider to the left, you introduce a blur effect, as if the lens focus had been shifted.
Give Nik Sharpener a try today!
If you want to see how Nik Sharpener Output can improve the look of your prints, make sure you check it out with a free trial right here: https://nikcollection.dxo.com/download/
Nik Sharpener is part of Nik Collection 7 by DxO. The package is made up of 7 superb tools, including photographers favorites like Silver Efex and Nik Viveza, all of which can be used standalone or as plugins in Lightroom, Photoshop or DxO PhotoLab 8.


